The HDMI port on your laptop is a gateway to a world of expanded visual and audio experiences. It allows you to connect your laptop to a larger display, such as a TV or monitor, and enjoy your favorite movies, presentations, or games on a bigger screen. Additionally, HDMI can also transmit audio signals, eliminating the need for separate audio cables. Let’s explore how to use HDMI on your laptop, from connecting the cable to troubleshooting common issues.
Contents
Connecting Your Laptop to a TV or Monitor
The process of connecting your laptop to a TV or monitor using HDMI is remarkably simple.
- Locate the HDMI Ports: First, identify the HDMI ports on both your laptop and the external display. They are typically rectangular in shape and labeled as “HDMI.”
- Connect the HDMI Cable: Take an HDMI cable and plug one end into the HDMI port on your laptop and the other end into the HDMI port on your TV or monitor. Ensure both ends are securely plugged in.
- Power On: Turn on both your laptop and the external display.
- Select the Correct Input: Use your TV or monitor’s remote control to select the HDMI input that corresponds to the port where you connected the cable.
Automatic Detection
In most cases, your laptop and the external display will automatically detect each other and establish a connection. You should see your laptop’s screen mirrored or extended onto the larger display.
Manual Configuration
If the connection isn’t established automatically, you may need to configure it manually.
-
Windows:
- Right-click on your desktop and select “Display settings.”
- Under “Multiple displays,” choose your preferred display mode: “Duplicate these displays” to mirror your laptop screen or “Extend these displays” to use the external display as an additional workspace.
- If your laptop doesn’t detect the external display, click on “Detect.”
-
MacOS:
- Click on the Apple icon in the top left corner and select “System Preferences.”
- Click on “Displays.”
- Under “Arrangement,” you can arrange the displays and choose your preferred display mode.
Adjusting Display Settings
Once connected, you can fine-tune the display settings to optimize your viewing experience.
- Resolution: Adjust the resolution of the external display to match its native resolution or your preferred setting. A higher resolution generally results in a sharper image.
- Orientation: If you want to rotate the image on the external display, adjust the orientation settings accordingly.
- Scaling: If the image appears too large or too small, adjust the scaling settings to fit the screen properly.
Audio Output: Enjoying Sound Through Your TV or Monitor
HDMI also carries audio signals, allowing you to enjoy sound through your TV or monitor’s speakers.
- Default Audio Output: In most cases, the audio output will automatically switch to the external display when you connect via HDMI.
- Manual Audio Output Selection: If the audio doesn’t switch automatically, you may need to select the HDMI output manually in your laptop’s sound settings.
- External Speakers or Soundbar: If your TV or monitor lacks built-in speakers or you want a more immersive audio experience, connect external speakers or a soundbar to the audio output port on your TV or monitor.
Troubleshooting: Tackling Common Issues
While HDMI connections are generally reliable, you might encounter some common issues. Let’s explore some troubleshooting tips.
- No Signal: If your TV or monitor displays a “No Signal” message, double-check the cable connections and ensure you’ve selected the correct HDMI input. Try power cycling both devices or using a different HDMI cable.
- Image Issues: If you experience flickering, distorted images, or color problems, try adjusting the resolution or refresh rate settings on your laptop or the external display. Ensure your graphics drivers are up to date.
- Audio Issues: If you’re not getting any sound through the HDMI connection, check your audio output settings and ensure HDMI is selected. If you’re using external speakers or a soundbar, verify their connections and settings.
Utilizing the HDMI port on your laptop opens up a world of possibilities for enjoying your content on a larger screen and with enhanced audio. Whether you’re giving a presentation, watching a movie, or gaming, the HDMI connection offers a seamless and immersive experience.
By following these simple steps and troubleshooting tips, you can effortlessly connect your laptop to a TV or monitor and enjoy the benefits of HDMI connectivity. So, grab your HDMI cable, expand your visual horizons, and elevate your entertainment experience to new heights.
Advanced HDMI Usage: Unlocking Additional Features
Beyond the basic connection and display settings, HDMI offers several advanced features that can enhance your laptop’s functionality and versatility. Let’s explore some of these possibilities.
HDMI ARC and eARC: Simplifying Audio Connections
- Audio Return Channel (ARC): HDMI ARC allows audio signals to travel both ways between your laptop and an ARC-compatible TV or soundbar using the same HDMI cable. This eliminates the need for separate audio cables, simplifying your setup and reducing cable clutter.
- Enhanced Audio Return Channel (eARC): eARC is an upgraded version of ARC that supports higher-bandwidth audio formats like Dolby Atmos and DTS:X, providing a more immersive audio experience.
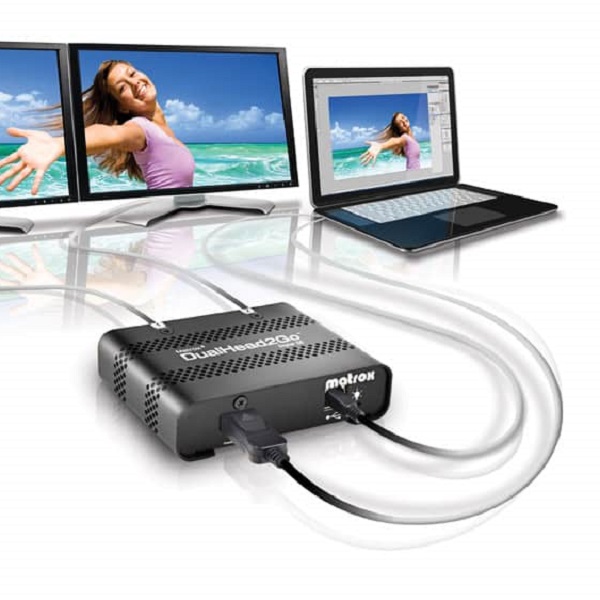
Multi-Monitor Setups: Expanding Your Workspace
- Productivity Boost: Connecting multiple monitors to your laptop via HDMI can significantly enhance productivity, allowing you to multitask and view multiple applications or documents simultaneously.
- Creative Flexibility: For graphic designers, video editors, or other creative professionals, a multi-monitor setup can provide a larger canvas and streamline workflows.
- Gaming Immersion: Gamers can benefit from a multi-monitor setup for a wider field of view and a more immersive gaming experience.
Projecting Presentations and Media
- Business Presentations: Connect your laptop to a projector or large display in a conference room or classroom to deliver impactful presentations.
- Movie Nights: Enjoy your favorite movies or TV shows on a big screen by connecting your laptop to your TV via HDMI.
- Gaming on a Grand Scale: Connect your laptop to a large TV or projector for an immersive gaming experience.
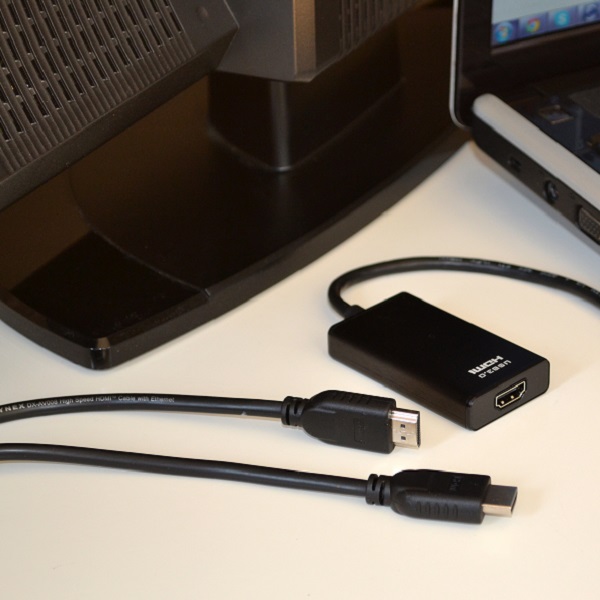
Adapters and Converters: Expanding Compatibility
Not all laptops and displays have the same types of ports. In such cases, adapters or converters can bridge the gap and enable HDMI connectivity.
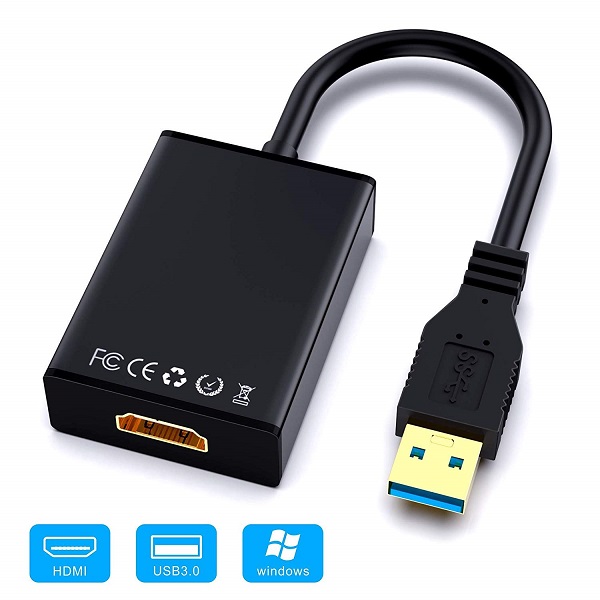
- USB-C to HDMI Adapters: If your laptop has a USB-C port, you can use a USB-C to HDMI adapter to connect to an HDMI display.
- Mini DisplayPort or Thunderbolt to HDMI Adapters: Some laptops have Mini DisplayPort or Thunderbolt ports instead of HDMI. Use the appropriate adapter to connect to an HDMI display.
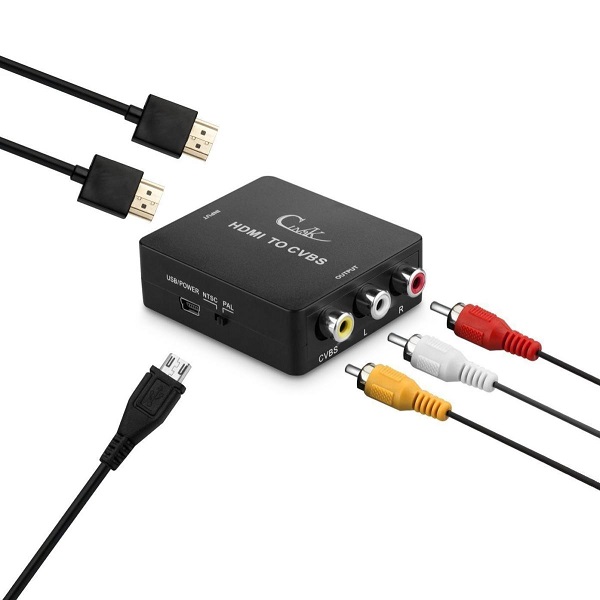
- VGA to HDMI Converters: If you have an older monitor with a VGA port, you’ll need a VGA to HDMI converter to connect it to your laptop’s HDMI port.
Choosing the Right Adapter or Converter
- Compatibility: Ensure the adapter or converter is compatible with your laptop’s port and the display’s input.
- Quality: Invest in a high-quality adapter or converter to ensure reliable performance and avoid signal loss or degradation.
- Features: Some adapters or converters offer additional features like audio support or multiple port options. Choose one that suits your needs.
Conclusion
The HDMI port on your laptop is a versatile tool that unlocks a world of possibilities for visual and audio experiences. By mastering the basics of HDMI connection, exploring advanced features, and utilizing adapters or converters when needed, you can seamlessly connect your laptop to a wide range of displays and enjoy enhanced productivity, entertainment, and creativity.
So, whether you’re working, playing, or simply relaxing, harness the power of HDMI and elevate your laptop experience to new heights.

