Switching to HDMI on your PC running Windows 11 is essential for enjoying high-definition audio and video on external displays. Whether you’re gaming, watching movies, or giving presentations, using an HDMI connection can significantly enhance your experience. In this article, we’ll walk you through the necessary steps on how to switch to hdmi on pc windows 11, ensuring that you can connect and enjoy your content on bigger screens without hassle.
Contents
- 1 Introduction to HDMI Connectivity
- 2 Preparing Your PC for HDMI Use
- 3 Identifying Your HDMI Port and Cable
- 4 Connecting the HDMI Cable to Your PC and Display
- 5 Adjusting Display Settings on Windows 11
- 6 Troubleshooting Common HDMI Connection Issues
- 7 Tips for Optimizing HDMI Performance on Windows 11
- 8 Frequently Asked Questions About HDMI on Windows 11
Introduction to HDMI Connectivity
HDMI (High-Definition Multimedia Interface) is the norm for high-definition electronic devices. It combines audio and video into one convenient cable. With HDMI, you can enjoy clear, high-quality picture and sound from a range of electronics. It’s a crucial feature for modern computing, offering the ease of full digital transfer without the need for multiple cables.
HDMI connectivity on PCs, especially with Windows 11, leverages this simplicity. It allows you to connect to monitors, TVs, and projectors effortlessly. Whether it’s for presentations, gaming, or watching movies, knowing how to switch to HDMI on your PC is key. It provides a seamless transition from the computer’s native display to a larger screen, enhancing your viewing experience.
When utilizing HDMI with Windows 11, you can expect plug-and-play functionality in most cases. Windows 11 is designed to recognize an HDMI-connected display automatically and make it ready for use. However, there might be times when you need to adjust settings manually. In this guide, you’ll learn every step on how to switch to HDMI on your PC running Windows 11.
In the following sections, we’ll cover the essentials for preparing your PC for HDMI use. This includes identifying the HDMI port and cable, connecting to your display, and adjusting the Windows 11 display settings. Stick with us to master HDMI connectivity on your PC.
Preparing Your PC for HDMI Use
To ensure a successful HDMI connection on your Windows 11 PC, preparation is key. Here’s what you need to do:
- Check Your PC’s Compatibility: Before proceeding, make sure your PC supports HDMI. Most modern PCs come with an HDMI port, but it’s best to confirm.
- Update Your Drivers: Outdated or missing drivers can cause connection issues. Check for the latest graphics and audio drivers. Update them for optimal performance.
- Inspect Your Hardware: Look over your HDMI cable and port. Any damage or dirt could hinder the connection. Ensure they are in good working condition.
- Clear Input Sources: If you have multiple devices connected, disconnect others not in use. This can prevent conflicts when switching to HDMI.
- Restart Your PC: A simple restart can resolve many connectivity problems. Restart your PC before connecting to an HDMI display.
Taking these preliminary steps helps mitigate any potential issues that could arise while connecting your PC to an HDMI display. By doing this groundwork, you’re setting yourself up for a hassle-free experience with how to switch to HDMI on a PC running Windows 11.
Identifying Your HDMI Port and Cable
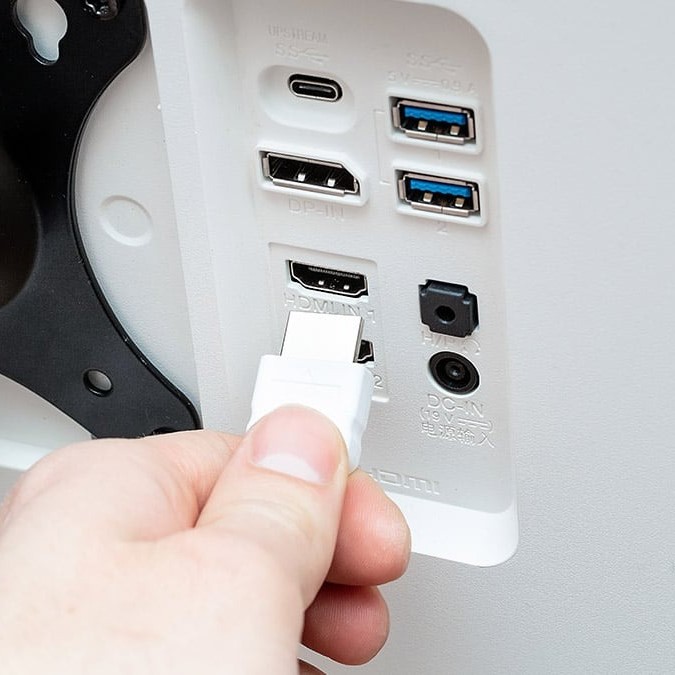
Locating the HDMI port on your PC is your first step. On desktops, find this on the back, typically near the graphics card area. Laptops often have it along the side. The port resembles a slim rectangular shape with two beveled corners. Employment of an adapter might be necessary for PCs without standard HDMI ports.
Next, choose the right HDMI cable. Categorically, cables are Type A (standard), Type C (mini), and Type D (micro). Most PCs use Type A, but checking your device’s requirements is vital. Ensure your cable is undamaged and of sufficient length to reach from your PC to your display without strain.
An understanding of cable versions is helpful. HDMI cables come in different standards like 1.4, 2.0, and 2.1. They offer various capabilities, such as 4K resolution support and increased bandwidth. Match your cable’s version with your display requirements for the best experience.
Cables picked and ports identified, you’re ready to connect. Confirm the HDMI cable is securely seated in both your PC and display’s HDMI ports. A firm insertion guarantees a stable signal. If your connections are in place and the display does not react, check through the various input channels until you find the correct HDMI connection.
Now that you have identified your HDMI port and selected an appropriate cable, you can proceed with connecting your devices and adjusting the necessary settings on Windows 11. This setup prepares you for an improved visual and audio experience using HDMI connectivity.
Connecting the HDMI Cable to Your PC and Display
Once you have identified your HDMI port and have the right cable at hand, connecting your PC to the display is straightforward. Follow these simple steps to establish the connection between your Windows 11 PC and your desired display.
- Turn Off Your Devices: Power off both your PC and the display before plugging in the cable. This can help prevent any electrical issues.
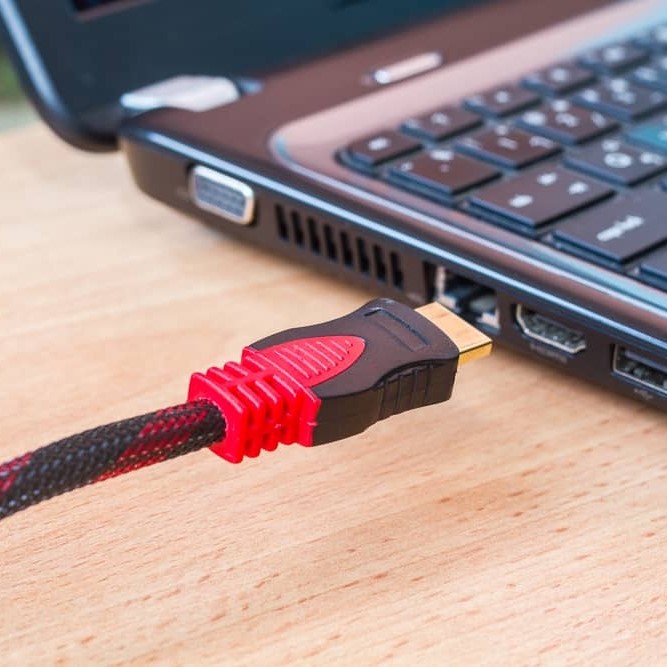
- Connect the Cable: Plug one end of the HDMI cable into the PC’s HDMI port. Make sure it’s snug and secure.
- Attach to Display: Connect the other end of the cable to the HDMI port on your display. Again, ensure a tight connection.
- Power On: Turn on the display first, then your PC. Windows 11 should detect the HDMI-connected display automatically.
- Check the Signal: Look out for the display screen to confirm it’s receiving the signal. You might see your PC’s desktop appear.
If the desktop doesn’t show up, don’t worry. Use your PC’s display settings to fix this. We’ll discuss how to handle such issues in the troubleshooting section. For now, remember these key points for a smooth connection process. And once you’re connected, you’re all set to enjoy the benefits of HDMI on your Windows 11 PC. It’s time to adjust the display settings for optimal viewing – we’ll cover this in the next section.
Adjusting Display Settings on Windows 11
Once your PC is successfully connected to a display using HDMI, you might need to tweak the display settings in Windows 11 to ensure everything looks just right. Here are steps to follow:
- Access Display Settings: Right-click on your desktop and select ‘Display settings’. This opens the display settings window.
- Detect Your Display: If Windows 11 has not automatically detected the new display, click ‘Detect’. This prompts the system to find and recognize your HDMI-connected screen.
- Select Display: In the display settings, you can see multiple displays if connected. Select the one corresponding to your HDMI-connected display for configuration.
- Adjust Resolution: Under ‘Scale & layout’, find ‘Display resolution’. Choose the resolution that matches your display’s specification for optimal quality.
- Change Orientation: If needed, change the orientation from landscape to portrait or vice versa, depending on your display orientation.
- Set Multiple Displays: If using more than one display, under ‘Multiple displays’, select how you want them to interact. You can extend, duplicate, or show only on one display.
- Apply: After adjusting, click ‘Apply’ to save changes. Your display should now reflect the new settings.
If the screen does not look as expected, or the changes do not take effect, try restarting your PC. This can sometimes help the new settings to take hold. Otherwise, proceed to the troubleshooting section for further guidance on how to resolve any lingering HDMI issues on Windows 11.
Troubleshooting Common HDMI Connection Issues
Even with preparation, you might face some HDMI issues. Here’s how to troubleshoot common problems on Windows 11:
- Recheck Connections: Ensure cables are properly connected at both ends. Loose connections are common culprits.
- Try a Different HDMI Port: If your display or PC has multiple HDMI ports, try another one. A port could be faulty.
- Inspect for Damage: Sometimes the cable or the port might be damaged. Look for any visible signs of wear or damage.
- Update or Reinstall Drivers: Out-of-date drivers often cause issues. Go to ‘Device Manager’, find display adapters, and check for updates.
- Change Display Output: Press ‘Win + P’ to cycle through display modes. Choose ‘Duplicate’ or ‘Extend’ as needed.
- Alter Display Settings: Return to display settings, and check if the correct display is set as the primary output.
- Restart Your PC: Software glitches can disrupt the connection. A restart may fix these software issues.
If these steps don’t resolve the issue, consult your PC or display’s manual, or seek technical support.
Tips for Optimizing HDMI Performance on Windows 11
To optimize HDMI performance on your Windows 11 PC, follow these tips:
- Use High-Quality Cables: Choose premium HDMI cables to avoid signal loss.
- Keep Software Updated: Regularly update Windows 11 and device drivers for the best compatibility and performance.
- Avoid Lengthy Cables: Use the shortest HDMI cable possible to reduce the risk of signal degradation.
- Enable High Dynamic Range (HDR): For displays that support it, turn on HDR in Windows 11 display settings to enhance visual quality.
- Check for Interference: Keep HDMI cables away from power cables and devices that might cause interference.
- Select Correct HDMI Signal Format: In display settings, ensure your PC outputs the correct HDMI signal format for your display.
- Close Unnecessary Programs: Running fewer programs can improve performance, reducing strain on your PC’s resources.
By considering these simple yet effective tips, you can ensure how to switch to HDMI on your PC Windows 11 produces the highest quality audio and visuals for your entertainment or work needs.
Frequently Asked Questions About HDMI on Windows 11
Addressing common inquiries can further simplify HDMI usage on a Windows 11 PC. Here are some frequently asked questions:
- Can I use HDMI for dual monitors?
Yes, if your PC has more than one HDMI port, you can set up dual monitors.
- Will HDMI carry audio as well?
Absolutely, HDMI transmits both high-definition video and audio signals.
- Is there a difference between HDMI ports on my PC?
Generally, no. But on some PCs, specific ports may support higher resolutions or refresh rates.
- Do I need a special HDMI cable for 4K displays?
Yes, for 4K you should use HDMI 2.0 or higher cable for the best experience.
- What can cause my HDMI signal to drop out?
Common causes include loose connections, cable damage, or outdated drivers.
- How do I check if my Windows 11 PC supports HDR via HDMI?
Go to ‘Display settings’ and look for an HDR option; if present, your PC supports it.
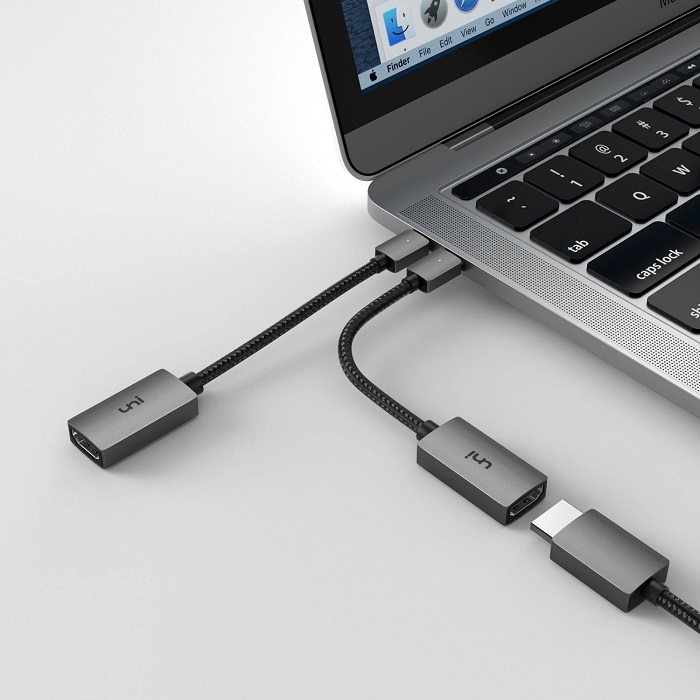
- What if my PC doesn’t have an HDMI port?
You can use an adapter to connect via other ports, like USB-C or DisplayPort.
By understanding these FAQs, users can troubleshoot basic HDMI queries on their own. It streamlines the process of connecting and optimizing HDMI setups on Windows 11, ensuring users get back to their tasks with minimal downtime.
In conclusion, learning how to switch to hdmi on pc windows 11 is a valuable skill that enhances your viewing experience. By preparing your HDMI connection, navigating settings effectively, troubleshooting any issues, and optimizing your display settings, you can make the most out of your external display, whether it’s for work or entertainment. Switching to HDMI opens up a world of possibilities, allowing you to enjoy high-definition media in comfort.