Contents
- 1 Introduction to Roku HDMI Connectivity Issues
- 2 Common Roku HDMI Error Messages Explained
- 3 Initial Steps for Troubleshooting HDMI Problems with Roku
- 4 The Role of HDMI Cable in Roku Errors
- 5 Adjusting Roku Display Settings to Resolve HDMI Issues
- 6 Software and Firmware Updates for Roku Devices
- 7 Alternative Connection Methods to Bypass HDMI Problems
- 8 When to Seek Professional Help for Your Roku HDMI Error
Introduction to Roku HDMI Connectivity Issues
Dealing with a Roku HDMI error can be frustrating. When your Roku device fails to connect to your TV via HDMI, it disrupts your streaming experience. HDMI, short for High-Definition Multimedia Interface, is the standard connection for transmitting high-quality audio and video signals. The Roku HDMI issue often points to a breakdown in this digital signal path. It could be due to a faulty HDMI cable, incorrect TV input selection, software glitches, or a range of other factors. Understanding the root cause is vital for effective troubleshooting.
Identifying HDMI connectivity issues starts with recognizing common symptoms. These can range from ‘No signal’ messages to poor video quality or even no video at all. Occasionally, you might encounter audio problems, such as sound cutting out or being out of sync with the video. These errors can occur for first-time Roku setup users or regular viewers.
Early detection and correction can help avoid extended disruptions. Start by verifying that your TV recognizes the Roku device. Then, inspect the HDMI cable, ensuring it’s not damaged and is correctly connected. Simple steps, such as rebooting your Roku or trying a different HDMI port on your TV, can often resolve the issue. As we delve further into common Roku HDMI error messages and troubleshooting techniques, remember that a systematic approach is key to solving these connectivity concerns quickly and effectively.
Common Roku HDMI Error Messages Explained
When confronting a Roku HDMI error, distinct messages may appear on your screen. Understanding these messages is crucial in diagnosing and fixing the problem. Here are the most common error codes and their meanings:
- HDCP Error: This error indicates a handshake issue between your TV and Roku device, suggesting that the content protection technology called HDCP is not working correctly.
- No Signal: Typically, a ‘No signal’ message signifies that the TV is not receiving any input from the connected Roku device. This could be due to an improper connection or a faulty HDMI cable.
- Purple Screen: This implies an HDCP error where the TV fails to communicate with the Roku device over the HDMI connection, often resulting in a purple screen or a direct message pointing to HDCP issues.
- Intermittent Black Screen: If your TV occasionally goes blank while using Roku, it’s either an issue with the HDMI cable or an indication that the TV’s HDMI port is not functioning correctly.
- Sparkling Image or Poor Video Quality: An inconsistent signal can cause the video to flicker or appear with poor quality, indicating potential issues with the HDMI connection.
By knowing these key Roku HDMI error messages, you can target specific issues in the troubleshooting process. Next, let’s look at initial steps to take when you first encounter one of these errors.
Initial Steps for Troubleshooting HDMI Problems with Roku
When faced with a Roku HDMI error, begin with basic troubleshooting steps:
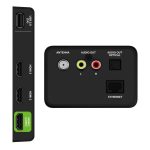
- Check HDMI Connection: Ensure your Roku device is firmly plugged into both the HDMI port on your TV and the device itself. The connection should be secure without any loose ends.
- Examine HDMI Cable: Look for any visible damage to the HDMI cable. Even small kinks or cuts can disrupt the signal. If you suspect the cable is faulty, replace it with a new one.
- Try a Different HDMI Port: Sometimes, the issue may be with the TV’s HDMI port. Switch to a different port to see if the problem persists. This can rule out hardware issues with your TV.
- Power Cycle Devices: Turn off your Roku device and the TV. Unplug both from their power sources for a minute. This resets the devices and can resolve temporary glitches.
- Check Input Settings: Verify that your TV is set to the correct HDMI input that your Roku device is connected to. You might have multiple inputs, so cycle through them just to be sure.
- Inspect Roku Status Light: Look at the status light on your Roku device. If it’s not on or flashing, there may be a power issue that’s impacting the HDMI connection.
These initial steps are simple yet effective in identifying and possibly correcting the root cause of your Roku HDMI error. If these actions don’t resolve the issue, further investigation into advanced settings and updates will be necessary.
The Role of HDMI Cable in Roku Errors
A faulty HDMI cable is often the culprit behind Roku HDMI errors. To ensure your streaming experience is not hindered, it’s important to grasp how the HDMI cable influences these issues. Here’s how it impacts your Roku device:
- Signal Transmission: HDMI cables carry audio and video signals. A damaged cable can interrupt this transmission, leading to errors.
- Quality of Picture and Sound: A high-quality HDMI cable ensures a clear picture and sound. An old or fraying cable might degrade these elements.
- HDCP Compatibility: The HDMI cable must support HDCP to stream certain content. Without this, you might see HDCP error messages.
- Cable Length: Longer cables can result in signal loss. It’s best to use the shortest cable possible for your setup.
- Port Connection: A loose cable can cause intermittent issues. Make sure the cable is snugly connected to both the Roku device and the TV.
By checking the HDMI cable and ensuring it is in good condition, you can eliminate it as the source of your Roku HDMI errors. If after scrutinizing the cable you still encounter issues, consider adjusting your Roku’s display settings or updating its software, which we will explore in the next sections.
Adjusting Roku Display Settings to Resolve HDMI Issues
If your Roku device keeps showing HDMI errors, adjusting display settings might help. In some cases, the Roku may not match your TV’s display capabilities, causing errors or poor performance. To tackle this, follow these straightforward steps for adjusting the Roku display settings:
- Access the Settings Menu: Use your Roku remote to go to the ‘Settings’ menu from the home screen.
- Select Display Type: Choose ‘Display type’ and let the Roku auto-detect the best display setting for your TV.
- Check the Resolution: Make sure the chosen resolution is compatible with your TV. If in doubt, select a lower resolution and test the performance.
- Adjust Refresh Rate: If your TV supports it, you may need to change the refresh rate setting for a smoother viewing experience.
- Screen Mirroring: For issues during screen mirroring, ensure screen mirroring is enabled and your devices are compatible.
By modifying these settings, you can fix many common Roku HDMI errors and improve your streaming quality. Just remember to save changes and restart your Roku device to apply the new settings. If changing display settings doesn’t fix the problem, consider looking for software and firmware updates which can also address HDMI connectivity issues.
Software and Firmware Updates for Roku Devices
Keeping your Roku device up-to-date is essential for avoiding HDMI errors. Software and firmware updates can fix bugs and improve performance. Here’s how you can update your Roku device:
- Navigate to Settings: Use your Roku remote to select ‘Settings’ from the home menu.
- Select System: Go to the ‘System’ option within settings.
- Check for Updates: Choose ‘System update’ to see if there are any available software updates.
- Update if Available: If an update is found, follow the prompts to install it. Your device may restart.
- Re-check HDMI Connection: After updating, make sure to check the HDMI connection. This helps confirm that the issue is not with the cable or port.
- Perform a System Restart: Once the update is complete, restart your Roku device. A restart can solve remaining glitches.
Updates can solve Roku HDMI errors caused by outdated software. They are a simple step you should not skip. Regularly check for updates to prevent future HDMI trouble.
Alternative Connection Methods to Bypass HDMI Problems
When you encounter persistent Roku HDMI errors, considering alternative connection options can be a smart move. These alternatives provide a workaround that might just enable you to enjoy your streaming content without HDMI-related disruptions. Here are some methods you can try:
- Use a Composite or Component Cable: If your TV has composite (yellow, red, and white connectors) or component (red, green, and blue for video, red and white for audio) inputs, use them. Older Roku models come with these cables. However, they offer lower video quality compared to HDMI.
- Wireless Streaming: Some Roku devices support wireless display standards like Miracast. You can stream your content wirelessly if your TV supports this feature. Check your Roku settings for a ‘Screen mirroring’ option.
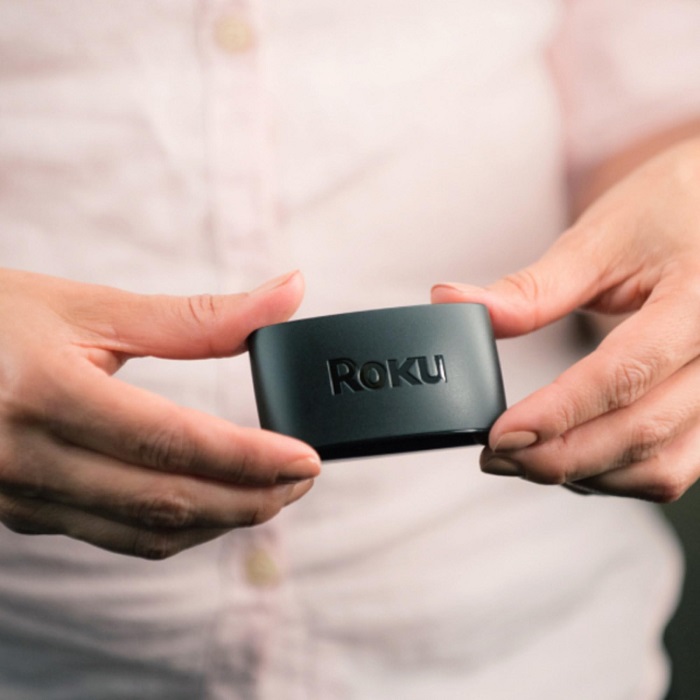
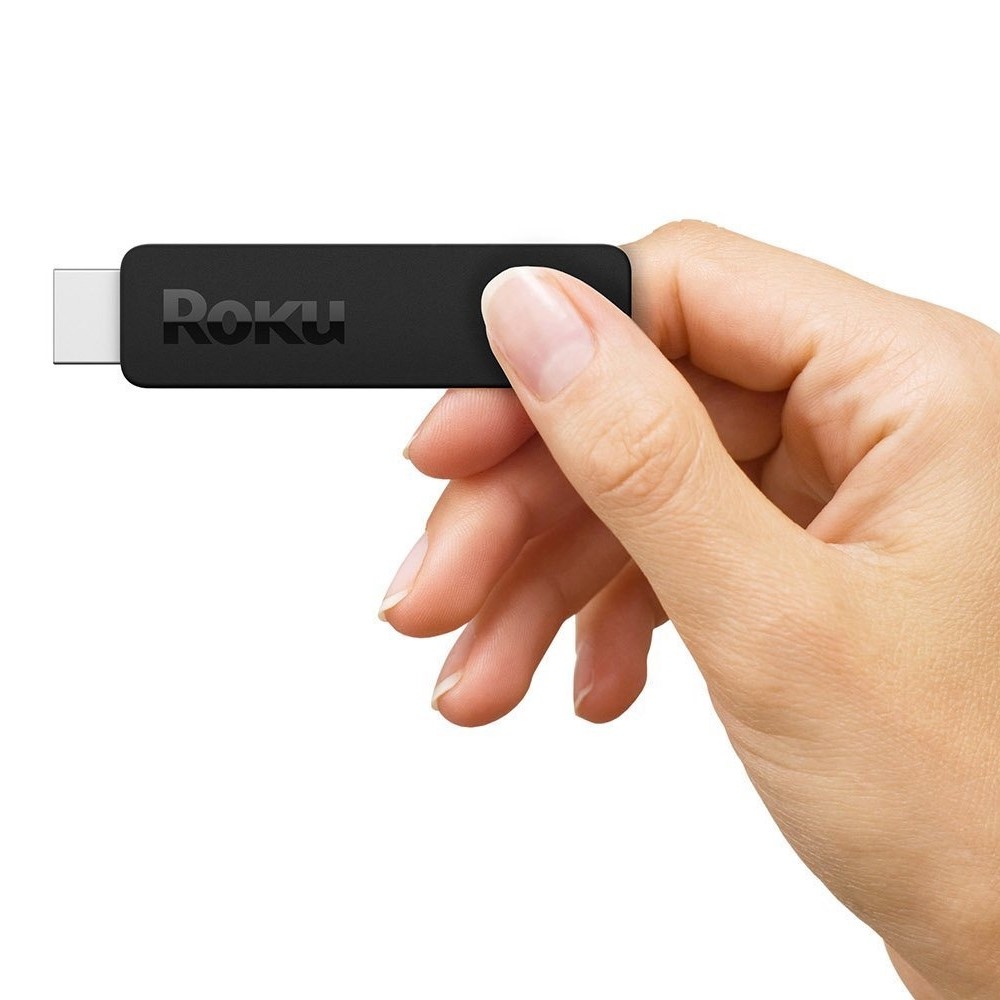
- Streaming Stick on Another Display: If you have a Roku Streaming Stick, try using it with another display that has an HDMI input. This could be another TV or a computer monitor.
- HDMI Extender: Sometimes, the HDMI port location on TVs can cause connection issues. An HDMI extender can help by providing a more accessible connection point.
- Audio/Video Receiver: If you have an audio/video receiver that’s connected to your TV, you may be able to connect your Roku device to it. The receiver then sends the signal to your TV, bypassing potential HDMI issues directly with the TV.
By exploring these alternative methods, you can sidestep the HDMI challenges that are affecting your Roku experience. It’s always worthwhile to consider these options, especially when traditional troubleshooting hasn’t resolved the issue. Remember to consult your TV and Roku user manuals for guidance on connectivity and compatibility before trying these alternatives.
When to Seek Professional Help for Your Roku HDMI Error

Sometimes, despite your best efforts, the Roku HDMI error remains unsolved. This is when it might be time to seek professional help. Here are a few situations in which contacting Roku support or a professional technician is advisable:
- Persistent Error Messages: If error messages keep appearing after you’ve tried all troubleshooting steps, professional help may be necessary.
- Frequent Interruptions: When HDMI issues disrupt your viewing experience regularly, expert help can pinpoint the unique problem.
- Physical Damage to Ports: If you notice visible damage to the HDMI ports on either your Roku device or TV, a technician should address it.
- Complex Settings: Advanced settings can be tricky. Professionals can ensure these are optimized without risking further issues.
- Continual HDCP Errors: Ongoing HDCP errors can indicate a deeper issue that might need an expert’s attention.
- Software Glitches: Professionals can resolve software problems that aren’t fixed through standard updates.
Remember, if the problem persists after contacting Roku support or the issue affects your TV’s hardware, reaching out to the TV’s customer support or a certified electronics repair service might be your next step. Taking this step ensures that your streaming setup functions optimally, and you get back to enjoying your favorite content with minimal hassle.