Contents
- 1 Signs of HDMI Port Failure
- 2 Common Causes of HDMI Port Damage
- 3 Preparing for HDMI Port Repair
- 4 Step-by-Step HDMI Port Replacement
- 5 Troubleshooting HDMI Port Issues After Repair
- 6 Preventive Measures to Protect Your HDMI Port
- 7 Professional Repair Services vs. DIY Repair
- 8 Conclusion: Ensuring a Successful HDMI Port Repair
Signs of HDMI Port Failure
Experiencing trouble with your Xbox One S video output could be a sign of HDMI port failure. Here are common indicators to look out for:
- No Signal: The most obvious signal is when your TV displays ‘No Signal’ despite the Xbox being on.
- Fuzzy or Unstable Image: If your screen frequently flickers or you see a snowy picture, it might be the HDMI port.
- Physical Damage: Inspect the port. Bent pins or debris can indicate a damaged HDMI port.
- Sound Issues: An HDMI port isn’t just for video. If the audio cuts out, your port might be failing.
- Intermittent Functionality: Does your Xbox One S sometimes connect and sometimes doesn’t? This inconsistency can be a sign of port failure.
Spotting these issues early can save you from more complex xbox one s hdmi port repair procedures down the line.
Common Causes of HDMI Port Damage
Understanding the common causes of HDMI port damage on your Xbox One S can prevent costly repairs. The HDMI port may suffer harm from a variety of factors:
- Frequent Plugging and Unplugging: Repeatedly connecting and disconnecting HDMI cables can wear out the port.
- Forceful Cable Insertion: Using too much force to plug in the HDMI cable can bend the internal pins.
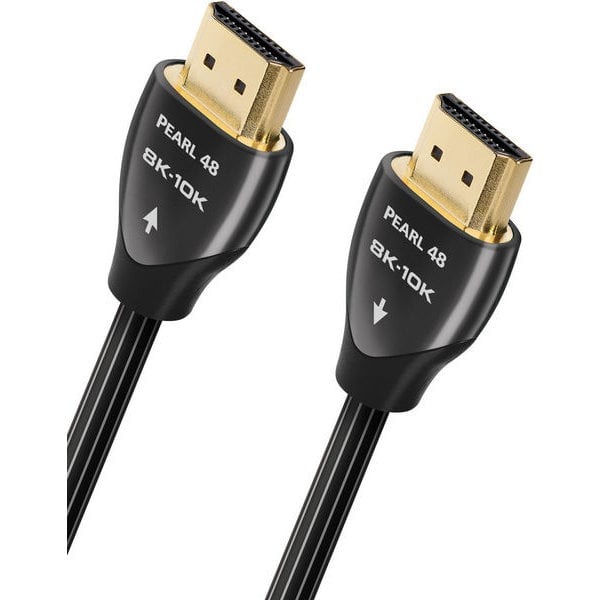
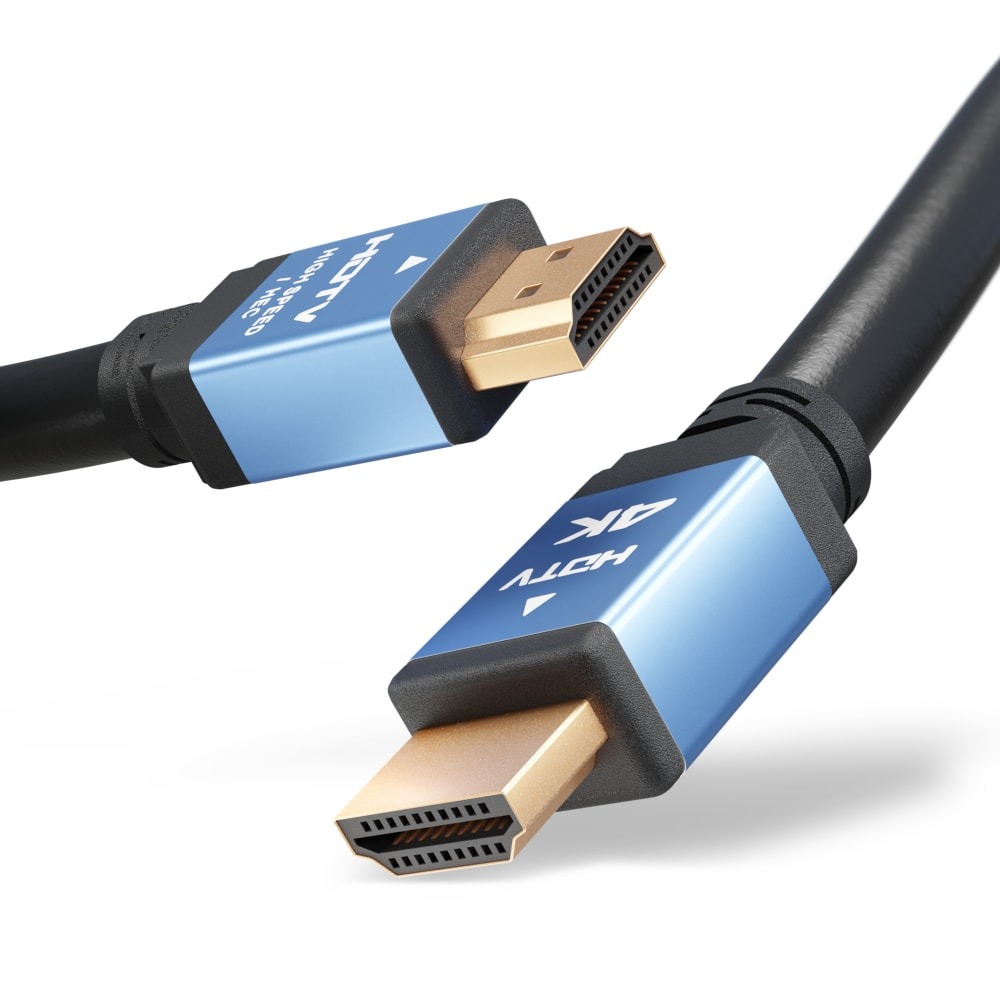
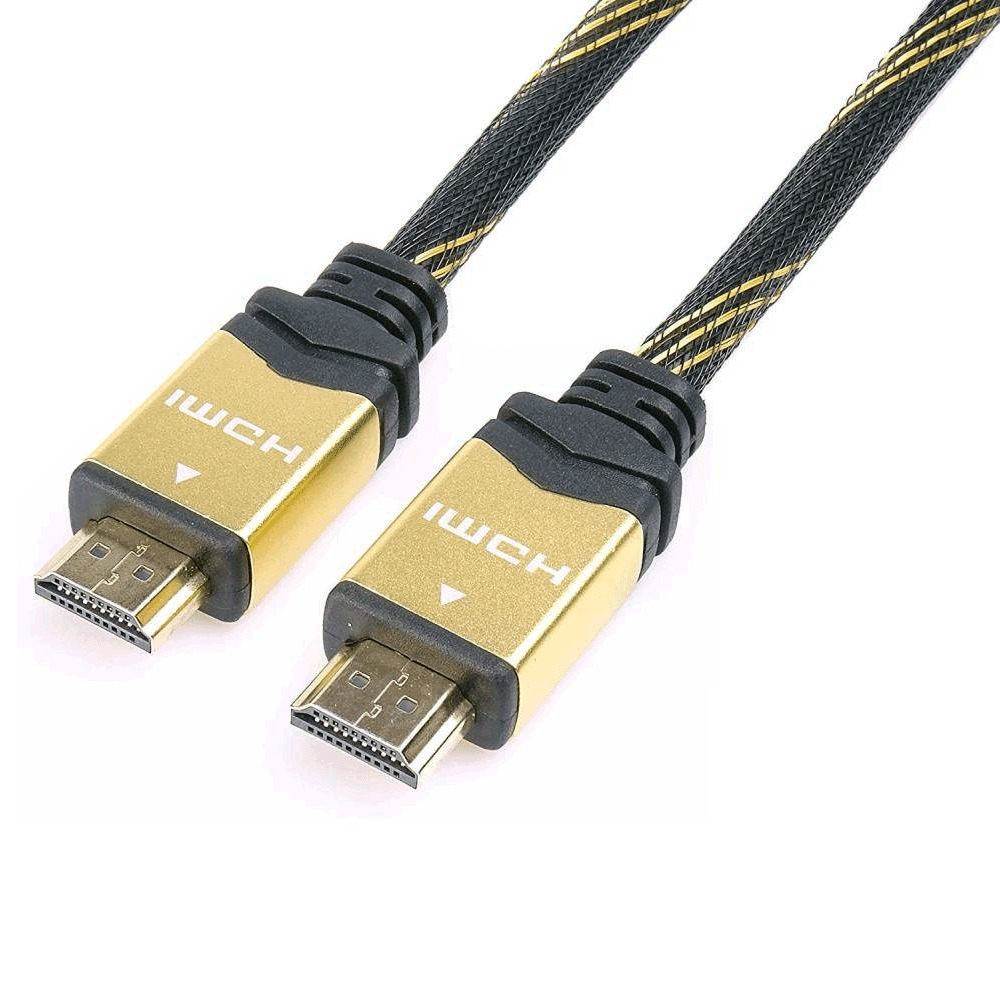
- Poor Quality Cables: Low-quality or damaged HDMI cables can cause a poor connection, leading to stress on the port.
- Dust and Debris: Accumulation of dust and debris may obstruct the connection and damage the port.
- Electrical Surges: Power surges can fry the electronic components, including the HDMI port.
- Physical Impact: Dropping or hitting your Xbox One S can bend or break the HDMI port.
- Manufacturing Defects: Sometimes the port may be weak from the start due to a manufacturing error.
Regular checks and careful handling of your HDMI port can minimize the risk of damage, ensuring your gaming experiences remain uninterrupted. By knowing these risks, you can take steps for xbox one s hdmi port repair only if necessary.
Preparing for HDMI Port Repair
Before you start the xbox one s hdmi port repair, proper preparation is crucial. Here’s a quick checklist to help you get ready:
- Gather the Right Tools: Make sure to have a soldering iron, solder, tweezers, screwdrivers, and a magnifying glass or microscope.
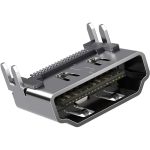
- Purchase a Quality HDMI Port: Get a replacement HDMI port that matches your Xbox One S model.
- Create a Work Area: Set up a clean, well-lit space free from distractions and static.
- Safety Precautions: Use anti-static wristbands to prevent damage to the console from electrostatic discharges.
- Take Photos for Reference: Take snapshots of the HDMI port area before disassembly to guide you during reassembly.
- Back Up Your Data: Ensure your game data is backed up in case of unforeseen issues during the repair process.
Taking these steps will set a strong foundation for a successful HDMI port repair.
Step-by-Step HDMI Port Replacement
Replacing the HDMI port on your Xbox One S may sound daunting, but with the right tools and steps, it can be done. Follow this guide for a smooth xbox one s hdmi port repair:
- Power Down Your Console: Ensure the Xbox One S is completely off and unplugged.
- Open the Case: Use your screwdrivers to carefully remove screws and open the console case.
- Remove the Old HDMI Port: Locate the damaged HDMI port and desolder it from the motherboard using a soldering iron.
- Clean the Area: Remove any leftover solder or debris where the old port was attached.
- Align the New HDMI Port: Position the new HDMI port correctly over the mounting area.
- Solder the Port: Secure the new HDMI port to the motherboard with solder. Use the magnifying glass to check for good solder joints.
- Reassemble the Console: Once the port is in place, reassemble your Xbox One S by reversing the disassembly steps.
- Test Your Repair: Connect your HDMI cable, power on the console, and check for a stable video and audio signal.
Remember, patience and precision are key to a successful xbox one s hdmi port repair. Take your time with each step to ensure the best outcome.
Troubleshooting HDMI Port Issues After Repair
After you complete the xbox one s hdmi port repair, you might still face issues. If your Xbox One S does not show video or play sound properly, here are steps to troubleshoot:
- Check the Connection: Ensure the HDMI cable is firmly connected to both the Xbox and the TV.
- Inspect Solder Joints: Look at the solder joints under a magnifying glass for cold joints or bridges.
- Try a Different HDMI Cable: Swap out the cable to rule out cable-related issues.
- Test with Another Device: Connect the HDMI cable to a different device to check cable functionality.
- Reset the Console: Perform a hard reset by holding the power button for 10 seconds.
- Look for Damage: Re-examine the HDMI port for any physical signs of damage.
- Consult Troubleshooting Forums: Seek advice from online forums specific to Xbox repairs.
Let’s keep sentences short. Use these tips if your HDMI port isn’t working after repair. Fixing xbox one s hdmi port repair issues sometimes needs a few extra steps.
Preventive Measures to Protect Your HDMI Port
Preventing HDMI port issues can save you time and money. Here’s how to protect your Xbox One S port:
- Handle with Care: Always plug and unplug cables gently to avoid bending pins.
- Quality Cables: Use high-quality HDMI cables that fit well and don’t force connections.
- Dust Covers: When not in use, cover ports to keep dust out.
- Regular Cleaning: Gently clean the HDMI port with compressed air to remove debris.
- Avoid Physical Stress: Don’t let the HDMI cable hang from the port or place stress on it.
- Surge Protection: Use a surge protector to shield your console from electric spikes.
- Proper Storage: When moving your console, pack it securely to prevent jolts and knocks.
By following these simple steps, your HDMI port will have a longer life, and you’ll reduce the need for xbox one s hdmi port repair. Remember, prevention is better than cure!
Professional Repair Services vs. DIY Repair
When fixing an HDMI port, you have two main choices. You can attempt a ‘do it yourself’ (DIY) repair, or you can opt for professional repair services. Both routes have pros and cons that we’ll explore briefly.
Pros of DIY Repair
- Cost-Effective: DIY can save money. No labor costs mean you only spend on parts.
- Learning Experience: Repairing by yourself teaches you about your Xbox One S. It’s a valuable skill.
- Immediate Action: You can start the repair right away, no need to wait for a professional.
Cons of DIY Repair
- Risk of Damage: Without the right skills, you could cause more harm to your console.
- Warranty Issues: DIY can void warranties. Check your warranty terms before you start.
- Time Consuming: Repair takes time, especially if you’re new to soldering electronics.
Pros of Professional Repair Services
- Expertise: Professionals have the skills. They’ll likely fix your Xbox One S quickly and correctly.
- Warranty: Some services provide warranties on repairs, adding peace of mind.
- Time-Saving: Handing your console to an expert saves you time. No need to learn repair techniques.
Cons of Professional Repair Services
- Cost: You pay for parts and labor. Professional work can be expensive.
- Wait Time: You might wait days or weeks for the repair to finish, especially if it’s busy.
When choosing, consider time, cost, skill level, and the value of your Xbox One S. If the HDMI port problem is beyond your ability, seeking professional xbox one s hdmi port repair services might be the best choice. Always weigh the risks and benefits before deciding how to proceed with your repair.
Conclusion: Ensuring a Successful HDMI Port Repair
Ending your Xbox One S HDMI port repair journey, remember a few crucial things. Here they are in short and simple terms:
- Double-Check Work: Always review your soldering and assembly work to avoid mistakes.
- Test Thoroughly: Before sealing up your console, test the HDMI connection for clear video and audio.
- Use Protection: After the repair, apply preventive measures to keep your HDMI port safe.
- Seek Help if Needed: If issues persist, don’t hesitate to get professional xbox one s hdmi port repair help.
- Learn for Next Time: Take this repair as a learning experience for any future tech DIY projects.
Taking on an Xbox One S HDMI port repair is no small feat. Whether you choose DIY or professional help, what matters is that you get your console back in action. Care, patience, and the right know-how will lead you to success. Here’s to many more gaming adventures with a fully functioning HDMI port!