Contents
Introduction
Knowing how to manage your Xfinity router IP settings is essential for maintaining a stable internet connection. Whether you want to improve your connection speed, secure your network, or troubleshoot issues, understanding these settings is crucial. The first step is to find the Xfinity router IP address, which serves as the gateway to your router’s configuration page. Once you access this page, you can easily make necessary changes to optimize your router’s performance.
For many users, figuring out the Xfinity router IP can seem challenging, but this guide provides clear instructions. Additionally, we’ll cover how to find your default Xfinity router IP address, adjust your settings, and troubleshoot common Xfinity router IP issues. By the end of this article, you’ll have a comprehensive understanding of your router settings and how to manage them effectively.
Step-by-Step Guide: How to Find Xfinity Router IP Address
- Locate the Default IP Address:
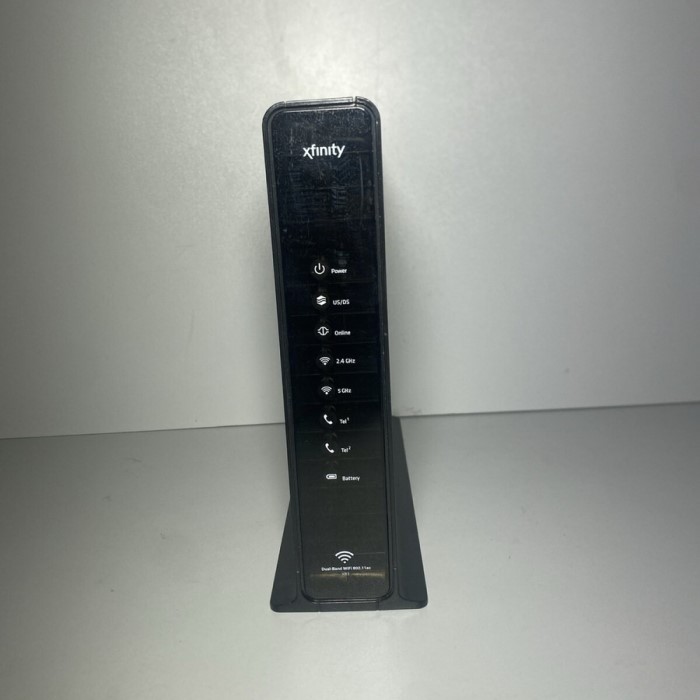
The default IP address for Xfinity routers is typically 192.168.1.1 or 10.0.0.1. To determine your specific router’s IP address, you can check the label on the back or bottom of the device. - Using Command Prompt:
For Windows users, accessing the command prompt is a straightforward method to locate the IP address. Simply open the Command Prompt and typeipconfig. Look for the “Default Gateway” entry under your network connection; this will usually reveal the Xfinity router IP address. - Accessing Via a Browser:
Open a web browser and enter the identified IP address in the address bar. Press Enter. You will be directed to the Xfinity router login page, where you can enter your credentials. - Mobile Device Access:
If you are using a mobile device, you can also check the IP through your Wi-Fi settings. Click on the connected network to view details, including the router IP address.
Logging Into Your Xfinity Router
- Entering Login Credentials:
Once you’ve identified the Xfinity router IP address, you’ll need to log in. The default login credentials are typically:- Username: admin
- Password: password
If these have been changed and you do not remember them, a factory reset may be needed.
- Accessing Advanced Settings:
After logging in, you will be taken to the main dashboard. From here, you can navigate to various settings. Make sure to explore options such as Wi-Fi Network settings, Security, and Device Management. - Security Considerations:
It is crucial to change the default login credentials for security reasons. Use a strong password that combines letters, numbers, and special characters.
Understanding Xfinity Router IP Change Settings
- Changing Your Router IP Address:
To change the router IP address, navigate to the LAN Setup section in the router settings. Here you can modify the IP address, ensuring it remains within the appropriate range for local networks, typically within the 192.168.x.x range. - Assigning Static IPs to Devices:
If you want to ensure that certain devices always receive the same IP address from your router, consider using static IP assignments. This is especially useful for managing printers or other network devices. - DHCP Settings:
The Dynamic Host Configuration Protocol (DHCP) is responsible for automatically assigning IP addresses to devices on your network. You can change the range of IP addresses assigned by your Xfinity router within this section if you have specific needs.
Updating Firmware and Settings
- Importance of Firmware Updates:
Regularly updating your router’s firmware can enhance performance and security. Many Xfinity routers will notify you of available updates, but it’s a good habit to check for updates manually occasionally. - Applying Changes:
After making any changes to settings, ensure you save and apply these updates. You may need to restart your router for some changes to take effect fully. - Backup Settings:
Consider backing up your current settings before making significant changes. This allows you to restore them if something goes wrong.
Troubleshooting Common Issues
Unable to Access the Settings Page
- Check Network Connection:
Ensure that your device is connected to the router’s network. This can be either through a wired Ethernet connection or a wireless Wi-Fi connection. Double-check your Wi-Fi settings to confirm that you are connected to the correct network. - Verify the IP Address:
Make sure you are entering the correct IP address in your browser. Common default IP addresses for most routers are 192.168.1.1 or 10.0.0.1. If you’re unsure, consult the router’s manual or look for the address on a label typically found on the device. - Restart Your Router:
If you have confirmed that you’re connected to the right network and still can’t access the settings page, consider restarting your router. Unplug the power cord, wait for about 30 seconds, and then plug it back in. Wait for the router to reboot fully before trying to access the settings page again. - Clear Browser Cache:
Sometimes, browser settings may interfere with accessing the router’s page. Clear your browser cache and cookies or try using a different browser to eliminate potential issues. - Use a Different Device:
If you are still unable to access the settings page on one device, try using another device, such as a smartphone or tablet. This will help determine if the issue is specific to the original device.
Connection Drops
- Identify Interference Sources:
Frequent disconnections can often be attributed to interference from other electronic devices. Common culprits include microwaves, cordless phones, and Bluetooth devices. Identify any such devices that are located near your router. - Change the Wi-Fi Channel:
Access your router’s settings to change the Wi-Fi channel. Most routers automatically select a channel, but switching to a less congested one can improve connectivity. This adjustment can reduce interference from neighboring networks. - Relocate the Router:
Positioning your router in a more central location can enhance coverage and signal strength. Avoid placing it in corners or behind obstacles like walls or furniture. Elevating the router off the floor and away from other electronics can also help. - Monitor Connected Devices:
An overload of connected devices can strain the router’s bandwidth, resulting in dropouts. Disconnect a few devices to see if the connection stabilizes and check for any unauthorized devices connected to your network. - Check Router Settings:
Review and update your router’s firmware, as outdated software may cause connectivity issues. Use the manufacturer’s guidelines to ensure you have the latest version installed.
Weak Signal Strength
- Assess Router Placement:
If you are experiencing weak signals in specific areas of your home, consider the router’s placement. Positioning the router higher up on a shelf or wall mount may improve signal distribution throughout your home. - Minimize Obstacles:
Reduce physical barriers between the router and the areas experiencing weak signals. Move furniture or adjust the router’s location to ensure clearer line-of-sight paths for the signal to travel. - Avoid Electronic Interference:
Keep the router away from electronic devices that may interfere with its signal strength. microwaves, televisions, and cordless phones can disrupt Wi-Fi signals and reduce overall performance. - Check for Firmware Updates:
Regularly check for firmware updates for your router, as the manufacturer often releases updates to improve performance and fix bugs. Keeping your router’s firmware current can significantly enhance connection stability and signal strength. - Consider External Antennas:
If weak signals persist, consider upgrading to a router that supports external antennas. These antennas can be adjusted or replaced to improve range and signal quality in hard-to-reach areas. Alternatively, Wi-Fi extenders or mesh systems can also help improve coverage throughout your home.

Frequently Asked Questions (FAQs)
How do I access my Xfinity router?
To access your Xfinity router, open a web browser and enter the router’s IP address (commonly 192.168.1.1 or 10.0.0.1). Log in using your credentials.
What is the IP address for my Xfinity router?
The default IP address for most Xfinity routers is 192.168.1.1 or 10.0.0.1. You can confirm it by checking the router’s label or through command prompt.
What is the default login for Xfinity router?
The default login is often admin for the username and password for the password. It is highly recommended to change these for security.
Does Xfinity offer signal boosters?
Yes, Xfinity offers signal boosters to enhance Wi-Fi coverage in your home. These devices can be purchased directly or rented through your Xfinity account.

Conclusion
Understanding your Xfinity router IP settings is crucial for managing your home network effectively. By learning how to find the Xfinity router IP address, logging into your router, and adjusting the settings, you can take control of your connectivity.
Through the information provided in this article, you can confidently make changes to your network setup, improve your connection quality, and troubleshoot any issues you encounter. Remember, maintaining a strong and reliable connection is essential for today’s digital lifestyle. By following this guide, you are well on your way to becoming an expert in managing your Xfinity router settings!
Now that you’re equipped with the tools and knowledge, don’t hesitate to explore your router settings and customize them to fit your needs. Whether you’re troubleshooting or optimizing for better performance, a little knowledge goes a long way!