Contents
- 1 Step-by-Step: How to Backup Mac to External Hard Drive Easily
- 2 Why You Should Backup Your Mac
- 3 How to Choose the Best External Hard Drive for Backing Up Mac
- 4 Steps to Backup Mac to External Hard Drive
- 5 How to Transfer Files from Mac to External Hard Drive Manually
- 6
- 7 FAQs About Backing Up Mac to External Hard Drive
- 8 Conclusion
Step-by-Step: How to Backup Mac to External Hard Drive Easily
Backing up your Mac is crucial to ensuring that your data remains safe in case of hardware failure, accidental deletion, or malware attacks. Many users, however, hesitate when it comes to understanding how to backup mac to external hard drive. This comprehensive guide will help you master the process, outlining all the necessary steps and giving you the confidence to protect your data effectively. In this article, we will delve into the best methods, including using Time Machine, and even touch on the best external hard drives for backing up your Mac, ensuring that you can choose the right equipment for your needs.
Why You Should Backup Your Mac
Backing up your Mac isn’t just an optional task. It’s a necessary step that everyone should take seriously. Here’s why:
- Protection Against Data Loss: Whether due to hardware failure, accidental deletion, or other unforeseen circumstances, having a backup can save your vital files from being lost forever.
- Easy Recovery: If your data gets corrupted or lost, restoring from a backup is usually straightforward, allowing you to retrieve everything quickly.
- Peace of Mind: Knowing that your data is securely backed up provides a sense of security. You can focus on work without constantly worrying about potential data loss.
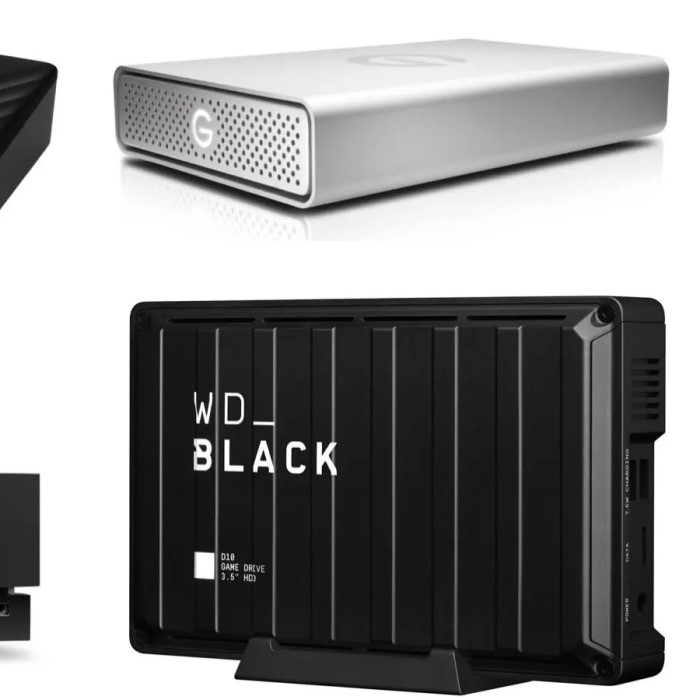
How to Choose the Best External Hard Drive for Backing Up Mac
How to backup mac to external hard drive? Selecting the right external hard drive is crucial for an efficient backup process. Here are some factors to consider when looking for the best external hard drive for backing up your Mac:
- Storage Capacity: Choose a drive with enough capacity to store your files. Ideally, it should be at least double the size of your current data to accommodate future growth.
- Data Transfer Speed: Look for drives with USB 3.0 or Thunderbolt support. These technologies offer faster data transfer speeds, which can significantly reduce backup time.
- Portability: If you plan to take your backup drive with you, consider a portable model that is lightweight and easy to transport.
- Durability: For added protection, look for drives that rugg or come with an extra layer of protection against accidental drops or spills.
Steps to Backup Mac to External Hard Drive
Now that you have a grasp on the importance of backups and how to choose the right external hard drive, let’s dive into the step-by-step process on how to backup Mac to an external hard drive.
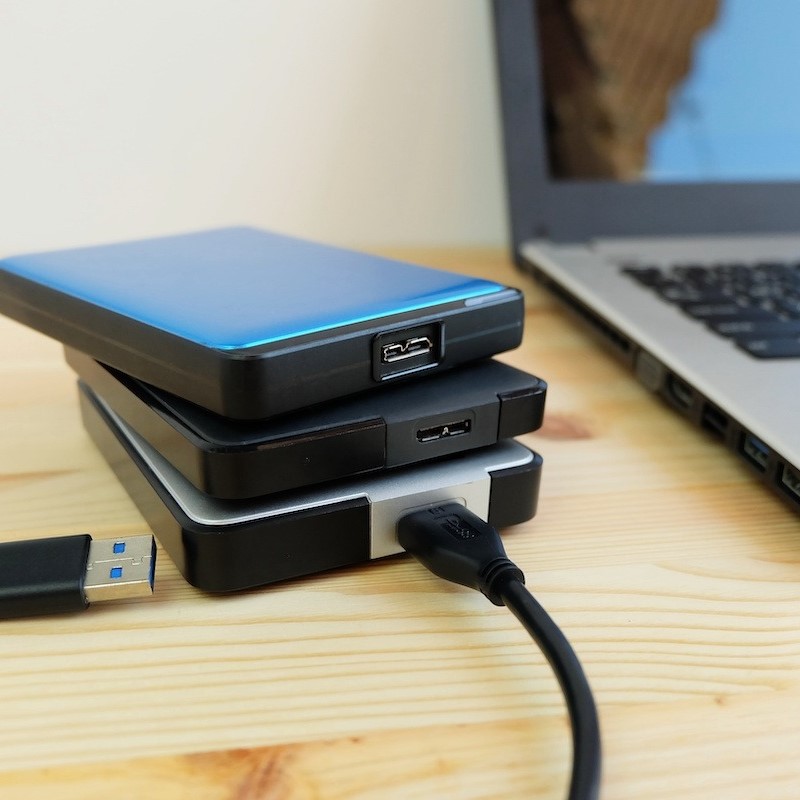
Step 1: Connect the External Hard Drive to Your Mac
- Start by plugging your external hard drive into your Mac using the USB, USB-C, or Thunderbolt port.
- Ensure that the external drive is powered on and recognized by your Mac; it should appear on your desktop or in the Finder sidebar.
Step 2: Format the External Hard Drive (If Necessary)
Before you use the drive for the first time, particularly if it’s new, you may need to format it:
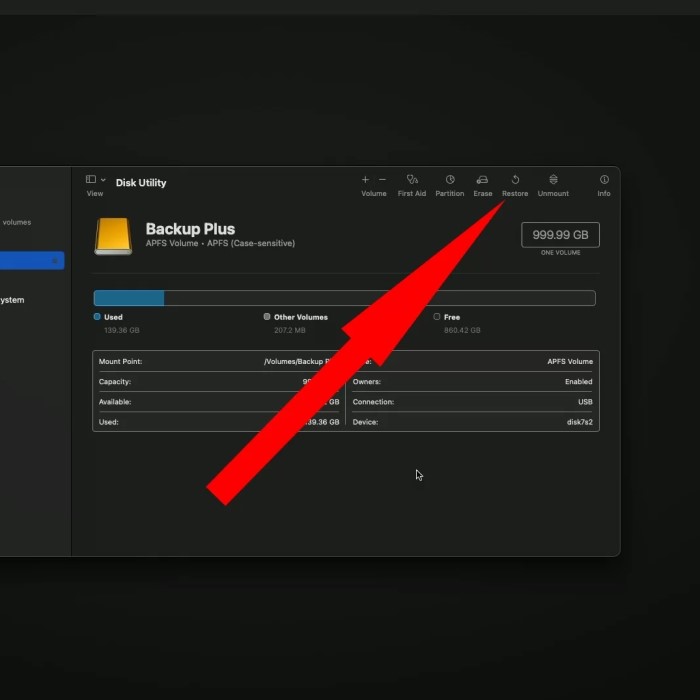
- Open Disk Utility, located in Applications under Utilities.
- Select your external hard drive in the left sidebar.
- Click on the Erase button and choose Mac OS Extended (Journaled) as the format, and GUID Partition Map as the scheme.
- Click Erase again to confirm. This process will delete any existing data on the drive, so ensure you’ve backed up anything important.
Step 3: How to Use Time Machine to Backup Mac
Now, let’s dive into how to use Time Machine, which is one of the easiest ways to back up your Mac. Follow these steps:
Access Time Machine Preferences
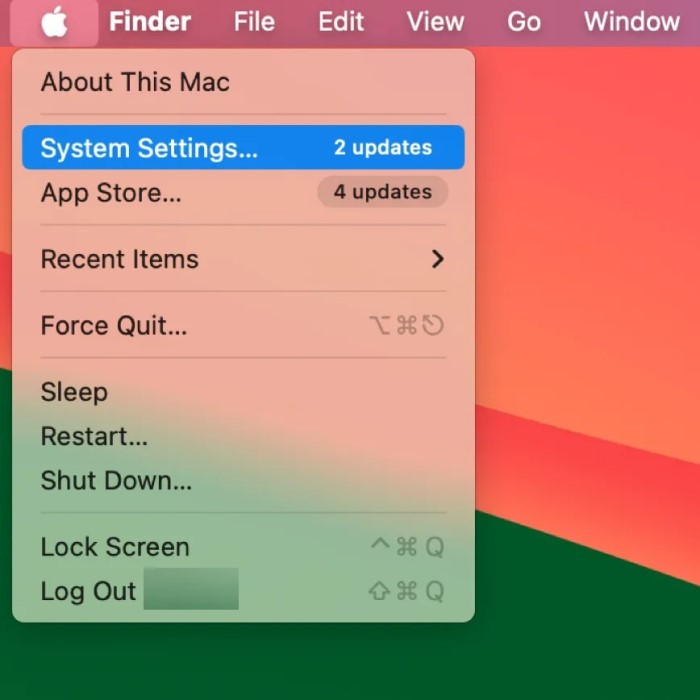
- Open the Apple Menu: Locate the Apple logo in the top-left corner of your screen; this will be your entry point for accessing system settings.
- Choose System Preferences: Click on the Apple menu and scroll down the list to find and select System Preferences. This opens a window with various settings for your Mac.
- Locate Time Machine: In the System Preferences window, look for the Time Machine icon, which may have a clock symbol. Click on it to access the Time Machine settings.
Select Backup Disk
- Click on Select Backup Disk: Within the Time Machine preferences, find the button labeled Select Backup Disk and click on it. This action prompts a new dialog box to appear.
- Choose Your External Hard Drive: In the dialog box that appears, you will see a list of available disks for backup.
- Select the Disk: Click on your external hard drive to highlight it.
- Click Use Disk: After selecting your drive, click the Use Disk button located at the bottom of the dialog box to confirm your choice.
- Consider Encryption Options: You will be given the option to encrypt your backups for added security. If desired, check this option before proceeding. Encryption helps safeguard your data by requiring a password to access the backup files.
Automatic Backups
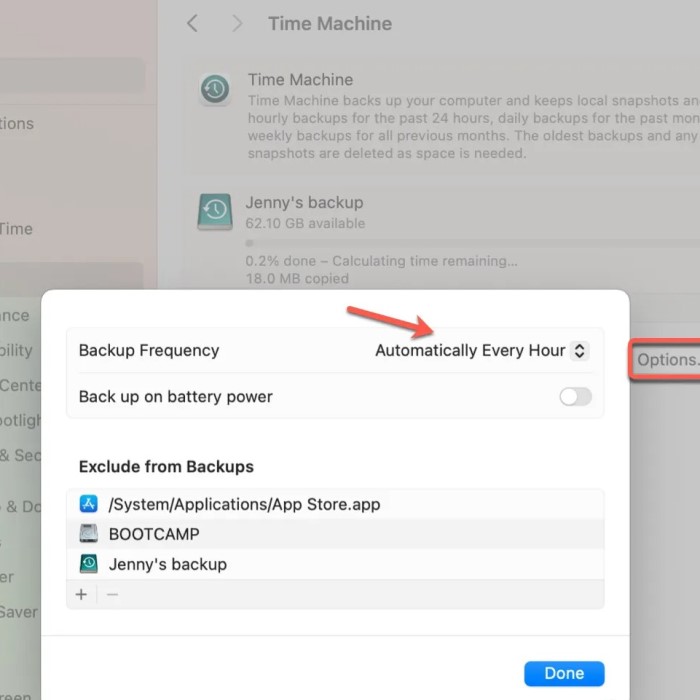
- Enable Automatic Backups: In the Time Machine preferences window, locate the checkbox labeled Back Up Automatically. Click it to enable this feature.
- Understand Backup Frequency: Once activated, Time Machine will automatically back up your files every hour. This ensures that any changes made to documents or new files added include in the backup.
- Retention Policies: Time Machine follows a specific retention policy. It generates daily backups for the past month, allowing you to recover any file version within that timeframe. Additionally, Time Machine keeps weekly backups for older files until the storage space on the external hard drive is needed.
- Monitor Backup Status: You can check the status of automated backups by looking at the Time Machine menu bar icon. It indicates when the last backup completed and whether one is currently in progress.
Step 4: Initiate Your Backup
- After configuring Time Machine, the backup will start automatically, but you can also initiate it manually by clicking on the Time Machine icon in your menu bar and selecting Back Up Now.
- Monitor the progress by clicking the Time Machine icon; it will show you the status of the current backup.
Step 5: Verifying Your Backup
Once the backup has completed, it’s essential to verify that your files back up correctly. Open your external hard drive and look for a Backups.backupdb folder, inside which you should find your backup files organized by date.
How to Transfer Files from Mac to External Hard Drive Manually
If you prefer not to use Time Machine, you can also manually transfer files to your external hard drive. Here’s how:
- Open Finder and navigate to the files or folders you want to back up.
- Select the files by clicking them, then either right-click and select Copy or press Command+C.
- Click on your external hard drive in the Finder sidebar, open it, and then right-click and select Paste or press Command+V to transfer the files.
FAQs About Backing Up Mac to External Hard Drive
How do I backup my entire Mac to an external hard drive?
To backup your entire Mac, use Time Machine with your external hard drive. Connect the drive, open Time Machine preferences, select the drive as the backup disk, and enable automatic backups for a complete backup process.
What is the best way to backup my Mac?
The best way to back up your Mac is to use Time Machine in combination with an external hard drive. Time Machine automatically backs up all files, applications, and system settings, making it convenient and user-friendly.
How do I backup my entire computer to an external hard drive?
Connect your external hard drive, open Time Machine, select it as the backup disk, and ensure that Time Machine set up to back up your entire system. It will create backups of your entire computer, including all files and applications.
Why is my Mac not letting me copy files to an external hard drive?
If your Mac isn’t allowing you to copy files to an external hard drive, check if the drive is formatted correctly. Additionally, ensure you have the necessary permissions. Sometimes, files might be locked or the drive might be read-only.
Conclusion
Mastering how to backup Mac to external hard drive is essential for protecting your valuable data against unexpected loss. From selecting the best external hard drive for backing up your Mac to understanding how to use Time Machine effectively, you are now equipped with the knowledge you need. Take the proactive steps outlined in this article to safeguard your files. Remember, a reliable backup solution ensures peace of mind, knowing that your data is secure and recoverable when you need it the most. Keep your Mac backed up, and safeguard your digital life!