Setting up your Roku device can enhance your entertainment experience significantly. Understanding how to set up Roku HDMI is crucial for a seamless and enjoyable viewing experience. This guide will walk you through each step of the installation process, ensuring that you can get your Roku up and running without any issues.
Contents
Introduction to Roku HDMI Setup
Roku has revolutionized home entertainment with its easy-to-use HDMI devices. Setting up your Roku HDMI involves a few simple steps that bring a world of streaming content to your TV screen. Whether you’re a Roku newbie or just need a refresher, this guide will take you through the essentials. For a successful setup, you will learn how to connect the Roku device to your HDMI-enabled TV, activate it, and navigate the Roku interface. Plus, we’ll cover personalizing your Roku experience and address common setup issues. Ready to dive into endless entertainment options? Let’s get your Roku HDMI up and running.
What You Need Before Setting Up Roku HDMI
Before diving into the Roku HDMI setup, make sure you have these essentials:
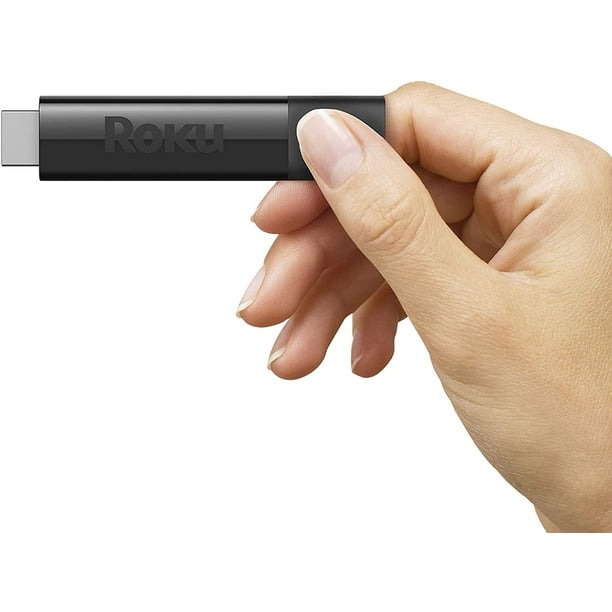
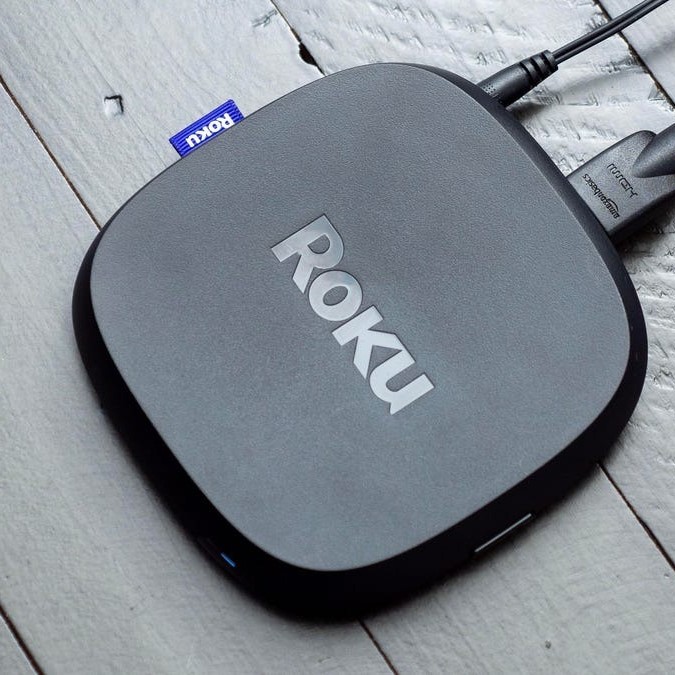
- A Roku streaming device: This can be any Roku model that supports HDMI.
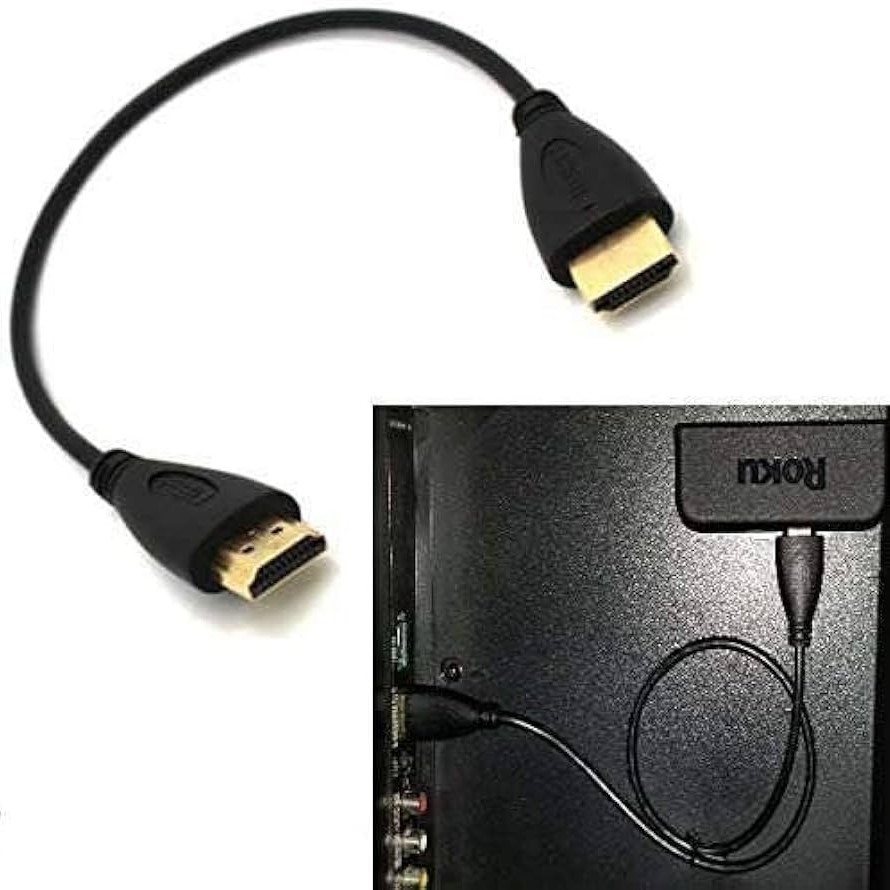
- An HDMI cable: This connects your Roku to the TV. Some Roku models include this cable.
- A TV with an available HDMI port: Your TV must have an HDMI port to connect your Roku device.
- A reliable internet connection: Wi-Fi or a wired network connection is crucial for streaming content.
- A power source: Either a wall outlet or a USB port on your TV can power your Roku.
- A Roku account: You’ll need this to activate your Roku and access streaming content.
Gather these items ahead of time to ensure a smooth setup process. When you have everything, you’re ready to proceed with connecting your Roku to your HDMI-enabled TV.
Connecting Roku to Your HDMI-Enabled TV

Now, let’s connect your Roku device to your TV using HDMI. The process is straightforward and quick to complete. Here’s what to do:
Step 1: Locate the HDMI Port on Your TV. Find an available HDMI input on your TV. It’s usually on the back or side.
Step 2: Connect the Roku to the HDMI Port. Take the HDMI cable and plug one end into your Roku. Then connect the other end to the TV’s HDMI input.
Step 3: Choose the Right TV Input. Using your TV remote, switch to the HDMI input that you’ve plugged your Roku into.
Step 4: Power Up Your Roku Device. If your Roku has a power adapter, plug it into a wall outlet. Some models can power on via a USB port on your TV.
By following these steps, your Roku should now be connected to your TV. You’re ready to move on to activating your device and starting to stream your favorite content.
Activating Your Roku Device
Once you have connected your Roku to your HDMI-equipped TV, it’s time to activate it. Follow these simple steps to start streaming:
Step 1: Power On Your TV and Roku. Turn on your TV and ensure your Roku screen appears.
Step 2: Select Language. Pick your preferred language on the Roku welcome screen.
Step 3: Connect to the Internet. Choose your Wi-Fi network and enter the password. Wired users can plug in an ethernet cable.
Step 4: Get the Activation Code. Your Roku will display an activation code. Note it down.
Step 5: Visit the Roku Website. On a smartphone or computer, go to the Roku activation site.
Step 6: Enter Activation Code. Type the noted activation code into the website.
Step 7: Create or Log In to Your Roku Account. If you’re new, create an account. If not, simply log in.
Step 8: Complete the Setup. Follow the on-screen prompts to finish activating your Roku.
Once activated, your Roku HDMI device will update itself to the latest software. This ensures you get the best performance and latest features. After the update, you can add your favorite channels and start enjoying a wide range of streaming content. If you face issues during activation, check your internet connection or the code you entered. Remember, your Roku account is free to create and is essential to access various streaming services.
Once your Roku device is active, navigating the interface is intuitive. The home screen features a main menu to access all functionalities. It’s laid out in a grid format, with your installed streaming channels visible. You can scroll right or left to explore the categories. At the top, options for ‘Home’, ‘My Feed’, ‘Search’, and ‘Settings’ are available. Here are a few tips to help you navigate:
Use the Roku Remote: The Roku remote is simple. Use the arrow keys to move around the screen. The ‘OK’ button selects items.
Home Button: Pressing the ‘Home’ button will always bring you back to the main screen.
Search Feature: Use ‘Search’ to find specific shows, movies, or channels. Simply enter a title or keyword.
My Feed: ‘My Feed’ tracks your favorite shows and notifies you of new episodes or availability.
Settings Menu: In ‘Settings,’ adjust your device preferences. You can tweak display types, audio settings, and network connections here.
Exploring the Roku Channel Store will let you add new channels. Press ‘OK’ to download and install. The ‘Star’ button on the remote gives you more options like moving or removing channels. Your Roku interface is designed for ease, making how to set up roku hdmi and personal use seamless.
Personalizing Your Roku Experience

Once you’ve set up and activated your Roku HDMI device, it’s time to personalize your viewing experience. Customizing your Roku ensures you enjoy streaming content that matches your preferences. Here’s how you can personalize your Roku experience:
Create Your Channel Lineup. Start by adding your favorite channels from the Roku Channel Store. Use the remote to browse and select the channels you love.
Rearrange Your Channels. Customize the order of your channels on the home screen. Press the ‘Star’ button on the remote to move them around. Place your most-watched channels at the front for easy access.
Set Up Parental Controls. Roku allows you to set parental controls to keep kids from accessing inappropriate content. Find this option in the ‘Settings’ menu and configure it to your needs.
Customize Your Screensaver. Choose from a selection of screensavers to personalize your Roku’s idle screen. You can also set the time for it to start.
Adjust Display Settings. Optimize your picture quality by adjusting the display settings. Access ‘Settings’ to tweak resolution and aspect ratio according to your TV.
Select Your Theme. Roku offers various themes to change the look of your interface. Browse through ‘Themes’ in the ‘Settings’ menu and pick one that you like.
By personalizing your Roku HDMI setup, you make it uniquely yours. Enjoy a tailored streaming experience that fits your tastes and preferences. If you encounter difficulties during customization, consult the ‘Help’ section for step-by-step assistance. Personalizing your Roku is an essential part of learning how to set up roku hdmi and maximizing your enjoyment.
Troubleshooting Common Setup Issues
Even the smoothest setup might hit a snag. Here are common setup issues and quick fixes:
Issue: No Signal on TV. Check the HDMI connection. Make sure the cable is snug at both ends. Select the right HDMI input on your TV.
Issue: Roku Not Powering On. Confirm the power source is working. If using a wall outlet, try a different one. If powering via USB, ensure the TV USB port supplies power.
Issue: Poor or No Internet Connection. Check your Wi-Fi. Make sure you entered the correct password. If wired, ensure the ethernet cable is firmly plugged into the Roku and router.
Issue: Activation Code Not Working. Codes expire quickly. If it’s not working, generate a new one on your Roku. Double-check for typing errors when entering the code online.
Issue: Remote Not Working. Check the batteries. Re-pair the remote by pressing the pairing button inside the battery compartment. Ensure there are no obstructions between the remote and Roku.
Issue: Error Messages During Setup. Note the error code and visit the Roku support site. Search for the code’s solution or steps for troubleshooting.
Remember, every issue has a fix. Most can be solved with simple checks and adjustments. If problems persist, reach out to Roku customer support. They’re ready to help you enjoy your Roku HDMI experience.
Advanced Roku Features and Settings

After completing the basic setup, it’s time to explore the advanced features and settings that enhance your Roku HDMI experience. Knowing how to set up Roku HDMI beyond the essentials allows you to optimize your viewing and usability. Here’s what you can look into:
Voice Control Capability. Utilize voice commands on your Roku remote or compatible smartphone app to search and control your Roku device.
Private Listening. With the Roku mobile app, you can listen to your TV’s audio on your headphones – perfect for not disturbing others.
Casting and Screen Mirroring. Cast content from your mobile device or mirror your smartphone’s display onto your TV screen through your Roku.
Network Connection Settings. Dive into advanced network settings if you encounter connectivity issues or need to change your network.
Guest Mode. Set up a guest mode for visitors to use your Roku without accessing your personal settings and information.
Update Preferences. Manage how your Roku downloads and installs updates to keep the device running smoothly without interruptions.
Control by Mobile. Use the Roku app to control your device from your smartphone, including typing with the keyboard for a faster experience.
Accessibility Features. Roku includes features such as audio guide and closed captioning, which you can customize for your needs.
To access these advanced features, go to your Roku’s ‘Settings’ menu. Here, you can find the various options and configuration settings. Get familiar with these settings to make the most out of your streaming experience. With these advanced features, you elevate how to set up Roku HDMI to a more personal and enjoyable level. Remember to keep your device updated to ensure you have the latest features and improvements.

