Contents
- 1 Introduction
- 2 Tools and Materials Needed for Network Cable Installation
- 3
- 4 Planning Your Network Cable Layout
- 5 Step-by-Step Guide to Installing Network Cables
- 6 Testing and Troubleshooting Installed Network Cables
- 7
- 8 Best Practices for Network Cable Management
- 9 Hiring Professionals vs DIY Network Cable Installation
- 10 Maintenance and Upgrading of Network Cables
- 11
- 12 Final Thoughts on Network Cable Installation
Introduction
Network cable installation is essential for creating reliable network connections. It ensures seamless communication between devices.
What is Network Cable Installation?
Network cable installation involves connecting computers, routers, and other devices using cables. These cables transfer data efficiently and securely. Properly installed cables support networking tasks like internet browsing, file sharing, and streaming. Common cable types include Ethernet cables and fiber optics, each suited to different needs.
Importance of Proper Network Cabling
Proper cabling improves network efficiency and reduces downtime. Organized cables prevent signal interference and ensure stable connections. It enhances data transfer speed, benefiting homes and businesses. Well-installed cables also improve safety by reducing tripping hazards. Most importantly, reliable cabling supports expanding networks in the future.
Tools and Materials Needed for Network Cable Installation
Proper tools and materials are essential for successful network cable installation. They simplify the process and ensure a durable setup. Below are key items you need for the job.
Essential Tools for Installation
- Cable Crimping Tool: Used for attaching connectors to the cable ends.
- Wire Stripper: Removes the outer jacket of network cables without causing damage.
- Cable Tester: Tests the functionality and connectivity of installed cables.
- Punch Down Tool: Secures cables into patch panels or wall jacks properly.
- Fish Tape or Rods: Helps to route cables through walls, ceilings, or tight spaces.
- Drill with Bits: Creates holes for routing cables through walls or other barriers.
- Tape Measure: Measures distances to ensure accurate cable lengths.
- Staple Gun or Clips: Secures cables neatly onto surfaces.
- Label Maker: Helps label cables for identification and management.
These tools streamline the installation, reduce mistakes, and improve cable handling.
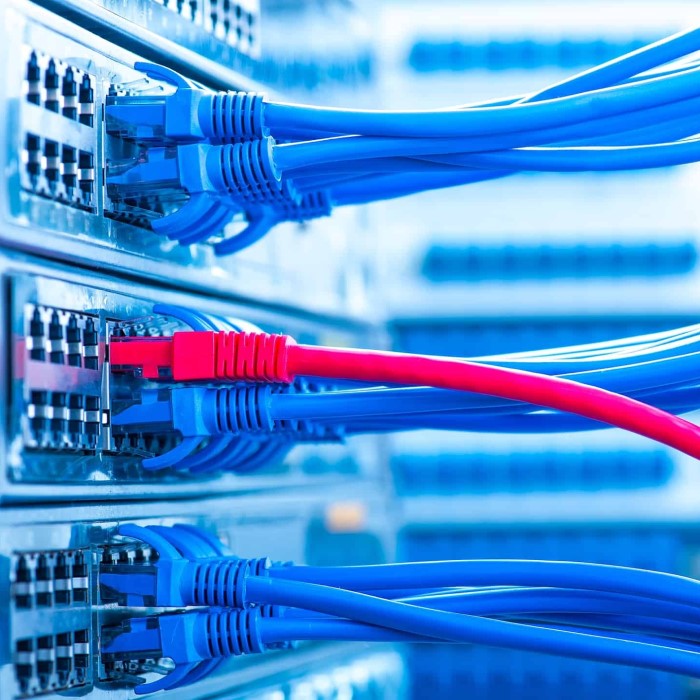
Types of Network Cables and Their Uses
- Ethernet Cables:
- Used for most networking tasks.
- Common categories are Cat5e, Cat6, and Cat6a.
- Higher categories support faster speeds and larger bandwidths.
- Fiber Optic Cables:
- Used for high-speed connections over long distances.
- Ideal for businesses and advanced networks.
- Coaxial Cables:
- Commonly used for internet and TV connections.
- Provides a stable signal over short to medium distances.
- Shielded Cables:
- Used in environments with high electrical interference.
- Ideal for industrial and factory settings.
Choosing the right cable depends on your network needs, environment, and desired performance. Proper tools and the right cables are the foundation of a reliable setup.
Planning Your Network Cable Layout
Careful planning is essential for a successful network cable installation. A well-planned layout ensures optimal performance, stability, and future flexibility for your network. This section outlines key steps to design your cable layout.
Assessing Your Networking Needs
- Determine Usage Requirements: Identify activities like streaming, gaming, or office tasks that require network cables.
- Evaluate Speed and Bandwidth: Choose cables that meet the speed and bandwidth necessary for your network.
- Plan for Device Connections: Count the number of devices that need connectivity, such as computers and printers.
- Consider Future Expansion: Factor in additional devices to accommodate future network growth.
- Understand Environmental Factors: Assess conditions like electrical interference or cable length requirements.
Mapping Your Cable Routes
- Outline Physical Layout: Create a map showing where network devices and connection points will be placed.
- Choose Optimal Paths: Select routes through walls, ceilings, or floors for minimal interference.
- Use Shortest Distances: Keep cable lengths as short as possible to reduce signal loss.
- Avoid High-Interference Zones: Steer clear of areas prone to electrical or physical interference.
- Design for Accessibility: Ensure cables are easy to access for testing, adjusting, or upgrading.
Compliance with Safety Regulations
- Follow Local Codes: Research local building and electrical codes governing cable installation.
- Secure Fire Hazard Zones: Use flame-retardant cables in high-risk areas to enhance safety.
- Prevent Tripping Risks: Secure cables properly against floors or walls to prevent accidental trips.
- Label for Safety: Clearly label routes and junctions to avoid confusion in crowded setups.
- Check Industry Standards: Align your installation with recognized industry standards for safety and reliability.
Proper planning improves efficiency, prevents downtime, and simplifies future upgrades. A well-organized layout is the backbone of any effective network setup.
Step-by-Step Guide to Installing Network Cables
Installing network cables requires precision and care for a reliable connection. Follow these steps for success.
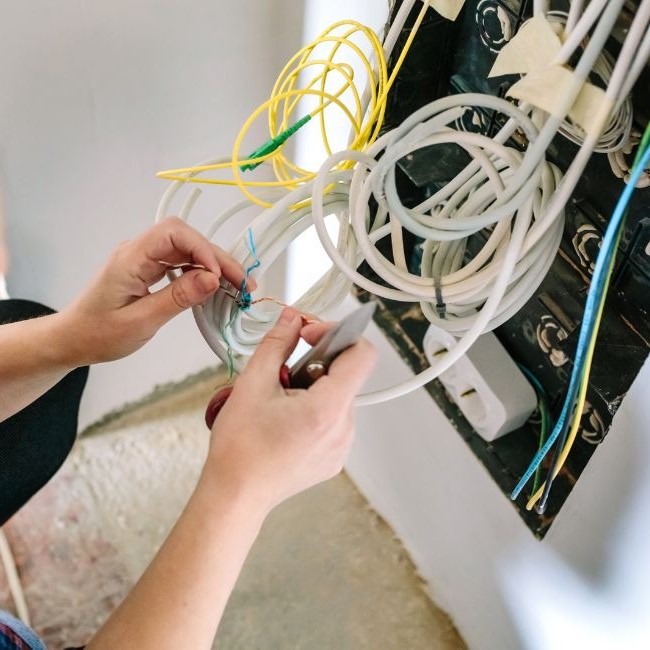
Preparing the Cable for Installation
- Measure the Required Length: Use a tape measure to determine the cable length needed.
- Cut the Cable: Trim the cable to the desired length with a cable cutter.
- Strip the Outer Jacket: Use a wire stripper to remove the cable’s outer covering.
- Unwind the Twisted Pairs: Carefully untwist the wire pairs without damaging them.
- Arrange the Wires: Align the wires according to the required pin pattern (e.g., T568A or T568B).
- Trim Excess Wire: Cut any uneven ends for a neat fit.
Proper preparation ensures smooth installation and reduces the chances of connection issues.
Running Cables Through Walls or Ceilings
- Plan the Route: Use your cable layout map to identify the best passage.
- Drill Holes: Create entry points for your cables using an appropriate drill bit.
- Use Fish Tape: Thread fish tape or rods through walls or ceilings to guide the cable.
- Pull the Cable Gently: Attach the cable to the fish tape and pull it carefully through the route.
- Secure the Cable: Fasten the cable with clips or staples to keep it in place.
- Label the Ends: Mark both sides of the cable for easy identification later.
Running cables correctly prevents damage and ensures the setup is secure and tidy.
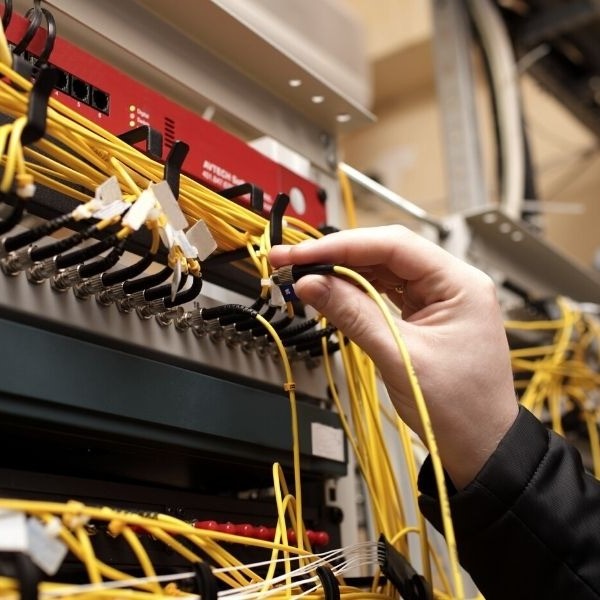
Terminating and Connecting Cables
- Prepare the Connector: Attach an RJ45 connector or punch the cable ends into a patch panel.
- Insert the Wires: Slot each wire into its respective channel following the chosen pin configuration.
- Crimp the Connector: Use a crimping tool to secure the wires in the connector.
- Test the Connection: Use a cable tester to ensure the cable is properly connected.
- Plug into Devices: Connect both ends to the respective ports of your network devices.
- Verify Network Functionality: Check for stable internet or data transfer to confirm success.
Proper termination ensures a durable connection and optimal network performance.
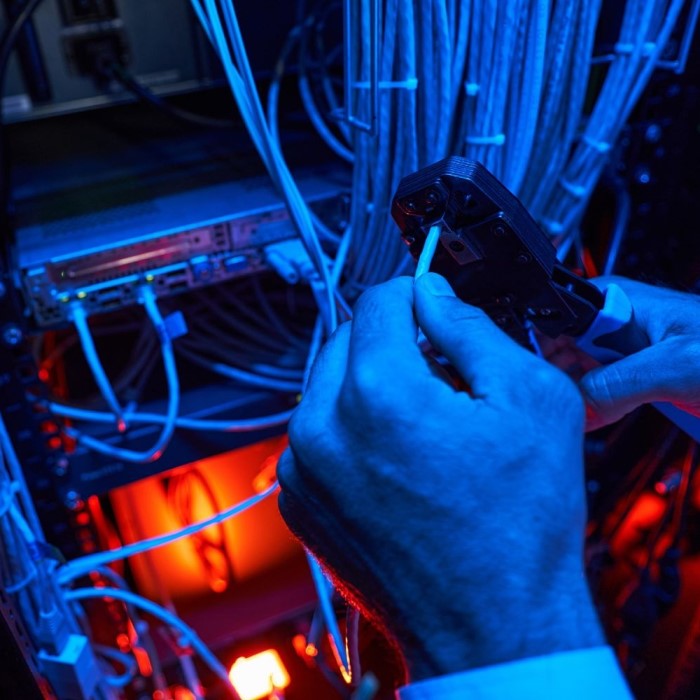
Testing and Troubleshooting Installed Network Cables
Testing and troubleshooting network cables is critical for maintaining reliable connections. This section outlines essential tools and common problems, providing solutions to optimize your network performance.
Tools for Cable Testing
Proper tools help ensure that network cables work efficiently without errors. Below are key testing tools:
- Cable Tester: Detects connectivity issues like continuity errors or mismatched wiring setups.
- Multimeter: Measures electrical signals and pinpoints breaks or short circuits in the cable.
- TDR (Time-Domain Reflectometer): Identifies cable faults and determines their location using signal reflection.
- Wire Map Tester: Verifies proper pin mapping and connection sequence for accurate performance.
- Signal Generator: Sends test signals to measure transmission quality and pinpoint interference.
Using these tools during installation or maintenance ensures cables are functioning optimally.
Common Problems and How to Fix Them
Network cables often encounter issues that disrupt performance. Here are common problems and practical solutions:
- Loose or Damaged Connectors:
- Problem: Connectors may loosen or suffer physical damage, affecting data transmission.
- Solution: Replace damaged connectors and use a crimping tool for secure terminations.
- Cable Breaks or Cuts:
- Problem: Physical damage interrupts data flow.
- Solution: Locate breaks using a TDR; replace or splice the cable as needed.
- Interference or Noise:
- Problem: Nearby electrical devices cause signal disruption.
- Solution: Use shielded cables or reroute cables away from interference sources.
- Incorrect Wiring:
- Problem: Misaligned pins cause connectivity failure.
- Solution: Rewire using a wire map tester to follow proper layouts like T568A or T568B.
- Signal Loss Over Long Distances:
- Problem: Extended cable lengths may degrade signal strength.
- Solution: Use repeaters or select cables designed for longer distances, like fiber optics.
- Environment-Related Damage:
- Problem: Exposure to heat, water, or rodents may damage cables.
- Solution: Choose durable cables or install protective conduits.
Regular testing and timely troubleshooting ensure the network remains functional and efficient.

Best Practices for Network Cable Management
Effective network cable management ensures a neat setup and reduces connection issues. It simplifies troubleshooting and minimizes risks.
Proper Labeling and Documentation
- Label Both Ends of Cables: Mark each cable’s ends for easy identification.
- Use Clear Labels: Choose durable labels that can withstand wear and tear.
- Document Cable Pathways: Maintain a record of how cables are routed through walls or ceilings.
- Map Device Connections: Create a diagram of connection points and linked devices.
- Update Documentation Regularly: Amend records whenever you install, move, or modify cables.
Proper labeling and documentation prevent confusion during repairs or future upgrades.
Using Cable Organizers and Avoiding Tangles
- Employ Cable Ties: Secure cables with ties to keep them orderly.
- Use Cable Sleeves: Group multiple cables inside protective sleeves for neatness.
- Avoid Overlapping Cables: Arrange cables so they do not overlap or tangle.
- Mount Cable Organizers: Install organizers along walls or desks for better accessibility.
- Separate Power and Network Cables: Prevent signal interference by keeping cables apart.
Using organizers enhances aesthetics and improves the longevity of your network cables.
Hiring Professionals vs DIY Network Cable Installation
Choosing between professional services and DIY network cable installation depends on your unique needs and skills. Both approaches have advantages and drawbacks that you must carefully evaluate.
When to Consider Hiring a Professional
- Complex Installations: Hire experts for large-scale setups, like offices or industrial networks.
- Time Constraints: Professionals work faster and ensure the job is completed efficiently.
- Lack of Experience: If you’re new to cable installation, professionals prevent costly mistakes.
- Specialized Equipment: Experts use advanced tools for accurate installation and testing.
- Compliance Needs: They ensure adherence to local codes and safety standards.
- Long-Term Reliability: Professional installations lower the risk of connection problems and minimize future troubleshooting.
Consider hiring a professional if the project demands expertise or extensive work.
Cost Comparison: DIY vs Professional Services
- DIY Cost:
- Tools: One-time investment in tools like cable crimpers and testers.
- Materials: Purchase cables and connectors suitable for your needs.
- Labor: No extra fees; only your time and effort involved.
- Total: Generally cheaper for small or straightforward setups.
- Professional Cost:
- Labor Fees: Professionals charge for their experience and time.
- Premium Materials: They may use higher-grade materials, increasing quality and cost.
- Additional Charges: Expect costs for added services like troubleshooting or post-installation tests.
- Total: More expensive, especially for complicated or large-scale installations.
DIY saves money but requires effort and technical knowledge. Professional services provide convenience and robust results.
Compare your budget, skill, and project scope before making a decision. Both options can result in reliable networks if approached thoughtfully.
Maintenance and Upgrading of Network Cables
Regular maintenance and upgrading of network cables ensure consistent and optimal network performance. Proper care effectively reduces downtime and enhances data transmission reliability.
When to Replace Network Cables
- Physical Damage: Replace cables with visible cuts, cracks, or worn-out insulation to prevent disruptions.
- Connectivity Issues: Swap cables causing dropped connections or poor data transfer.
- Outdated Technology: Upgrade older cables like Cat5e to newer models like Cat6a for better speed and bandwidth.
- Environmental Wear: If cables are exposed to water, heat, or pests, replace them with more durable options.
- Frequent Interference: Use shielded cables if existing ones fail in high-interference environments.
- Regular Testing Insights: Replace cables failing continuity tests or showing low signal quality.
Tips for Long-Term Cable Maintenance
- Inspect Cables Regularly: Check for wear, tear, or loose connections every few months.
- Avoid Over-Bending: Keep cables straight to prevent damage to internal wiring.
- Organize Cables Neatly: Use ties or sleeves to prevent tangles and messy setups.
- Separate Cables: Keep power and network cables apart to reduce signal interference.
- Clean the Area: Maintain clean surroundings to protect cables from dust and liquid damage.
- Protect with Conduits: Encase cables in conduits for better durability and protection.
- Label and Document: Maintain clear labeling and connection maps for efficient troubleshooting.
- Follow Testing Protocols: Regularly use tools like cable testers to ensure cables work efficiently.
Proper maintenance extends cable lifespan and minimizes issues, ensuring a stable and reliable network.
Final Thoughts on Network Cable Installation
In conclusion, network cable installation can seem daunting, but with the right knowledge and preparation, it is manageable for both beginners and experts. Understanding the cable types, preparing your workspace, and following a deliberate installation process are critical steps to success. Moreover, being aware of common troubleshooting issues ensures that you can address problems efficiently.
By enhancing your network installation knowledge, you not only improve your setup but also gain the skills to solve any arising issues. Proper installation can lead to a stable and fast network, making your digital experiences much better. Remember, the foundation of a strong network lies in its installation, persistence, and troubleshooting.