Contents
- 1 Introduction: Why Transferring Photos is Essential
- 2 Understanding the Need for Secure Photo Storage
- 3 Step-by-Step Guide on How to Transfer Photos from iPhone to External Hard Drive
- 4 Tips for Successful Photo Transfers
- 5 FAQs about Transferring Photos
- 6
- 7 Conclusion: Mastering Photo Transfers for Lasting Memories
Introduction: Why Transferring Photos is Essential
In our modern digital era, smartphones have become the primary device for capturing life’s fleeting moments. With an iPhone, you can take beautiful photos and videos while on-the-go. However, as your photo library grows, it can quickly consume device storage, leading to performance issues. Thus, knowing how to transfer photos from iPhone to external hard drive is vital.
Not only does transferring your photos free up valuable space on your iPhone, but it also provides a backup solution, ensuring your memories are safe. In this article, we will explore various methods to effectively transfer your iPhone photos to an external hard drive, including how to transfer photos from iPhone to external hard drive on Mac and how to transfer photos from iPhone to external hard drive without a computer. With easy-to-follow steps and practical tips, you can preserve your photos efficiently.
Understanding the Need for Secure Photo Storage
Before we dive into methods for transferring photos, it’s essential to understand the reasons why storing your photos externally is beneficial.
1. Avoiding Data Loss
Smartphones are prone to various risks, including technical issues, damage, or theft. Losing your device can mean losing your cherished memories forever. Transferring photos to an external hard drive acts as a practical safeguard against data loss.
2. Efficient Storage Management
iPhones often come with limited storage options. As you take more photos, you’ll likely run into storage notifications. Transferring images to an external drive allows you to manage your data better and keep your iPhone running smoothly.
3. Enhanced Organization
Having an external hard drive allows you to create organized folders for different events, locations, or family members. This makes it easier to access specific memories rather than scrolling through endless photos on your device.
Step-by-Step Guide on How to Transfer Photos from iPhone to External Hard Drive
How to transfer photos from iphone to external hard drive? In this section, we will explore several effective methods for transferring your photos, ensuring you find an approach that works best for you.
Method 1: Using a Computer as a Bridge
One of the simplest ways to transfer photos from your iPhone to an external hard drive is through the use of a computer. This method is reliable and straightforward.
1. Connect Your iPhone to Your Computer
Begin by connecting your iPhone to your computer using a USB cable. If prompted, unlock your iPhone and allow access to the computer.
2. Open File Explorer or Finder
For Windows Users:
- Open File Explorer:
- Click on the File Explorer icon located on your taskbar or search for it in the Start menu.
- Locate Your iPhone:
- In the left-hand sidebar, look for the section labeled “This PC.”
- Below “This PC,” you should find your iPhone listed as a connected device.
- Select Your Device:
- Click on your iPhone’s icon to access its folders and contents.
- Navigate to the DCIM Folder:
- Once you are inside your iPhone’s storage, look for a folder named “DCIM.”
- Double-click on the DCIM folder to open it. This is where all your photos and videos are stored.
- Transfer Your Photos:
- Browse through the various folders inside DCIM to find the photos you want to transfer.
- Select the desired photos, right-click, and choose “Copy.” Then, navigate to the folder on your computer where you want to save them, right-click again, and select “Paste.”
For Mac Users:
- Open Finder:
- Click on the Finder icon in your dock, which is typically a blue and white face.
- Find Your iPhone:
- In the Finder sidebar, you should see your iPhone listed under the “Locations” section. Click on it to select it.
- Access Your Device:
- Once you click on your iPhone, it will display its contents, including various media types.
- Locate Your Photos:
- Navigate through the folders to find the photos you wish to transfer.
- Transfer Your Photos:
- To select your desired photos, hold down the Command key while clicking on each photo or click and drag to select multiple files.
- After selecting, drag and drop the photos to a folder on your Mac, or you can use the “Copy” (Command+C) and “Paste” (Command+V) method to transfer them.
Choose the photos you want to transfer. You can select multiple photos by holding down the CTRL key (Windows) or the Command key (Mac). After selecting, right-click and select ‘Copy.’
4. Paste into External Hard Drive
Now, navigate to your external hard drive, create a new folder (if desired), right-click, and select ‘Paste.’ Your selected photos will begin transferring to the external hard drive.
5. Eject Devices Safely
Once the transfer is complete, ensure you safely eject both your iPhone and external hard drive before disconnecting to prevent data corruption.
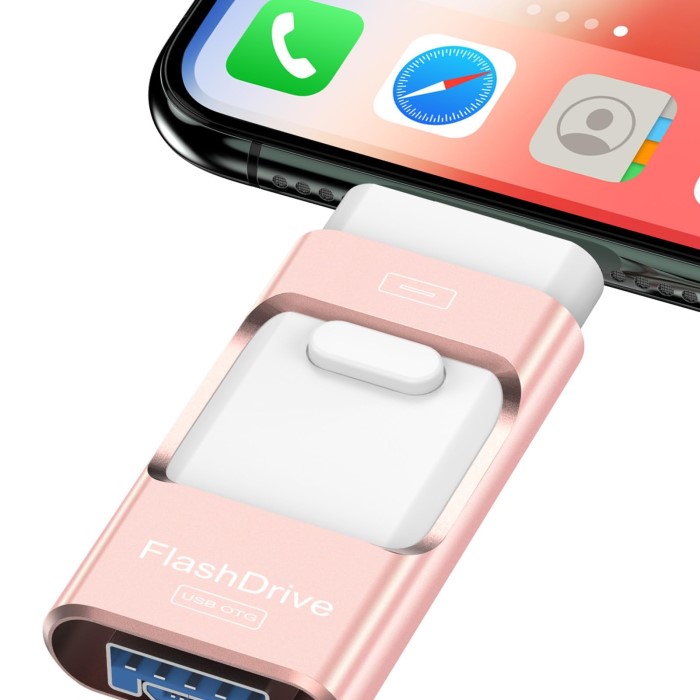
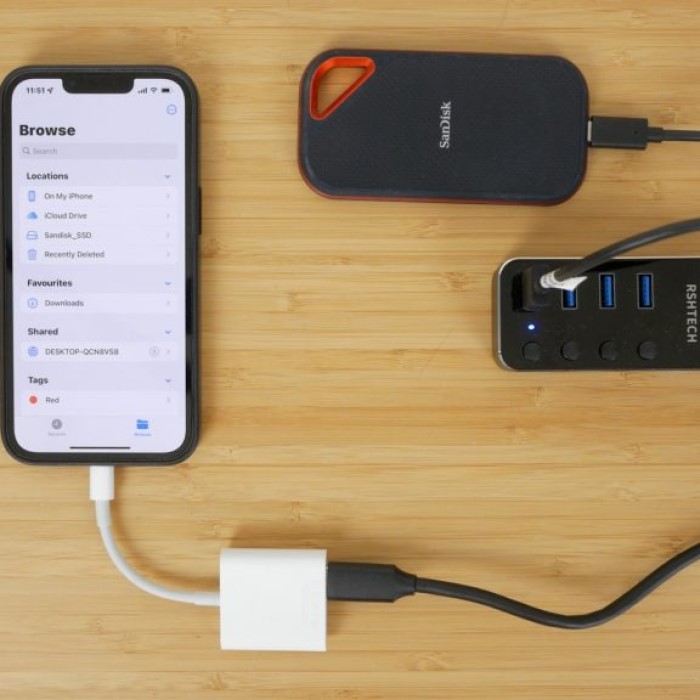
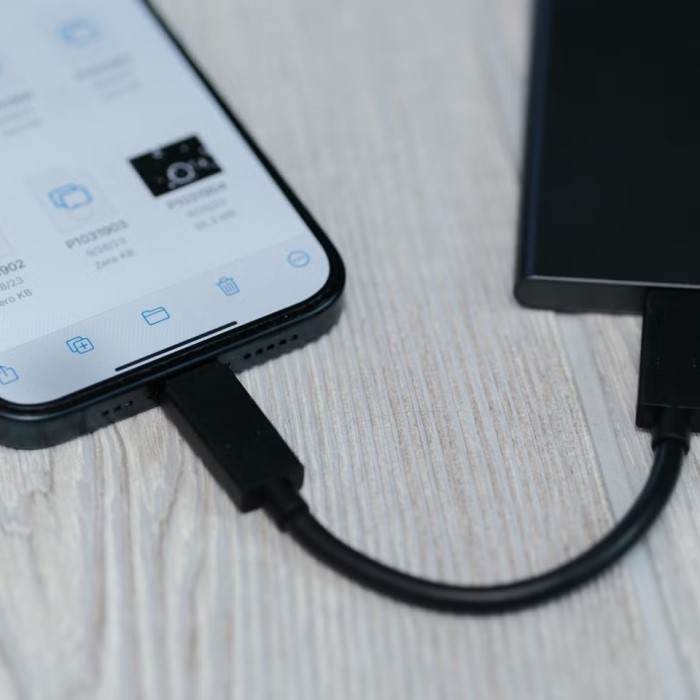
Method 2: Directly Connecting iPhone to External Hard Drive
For a more direct approach, you can connect your iPhone to an external hard drive using an adapter:
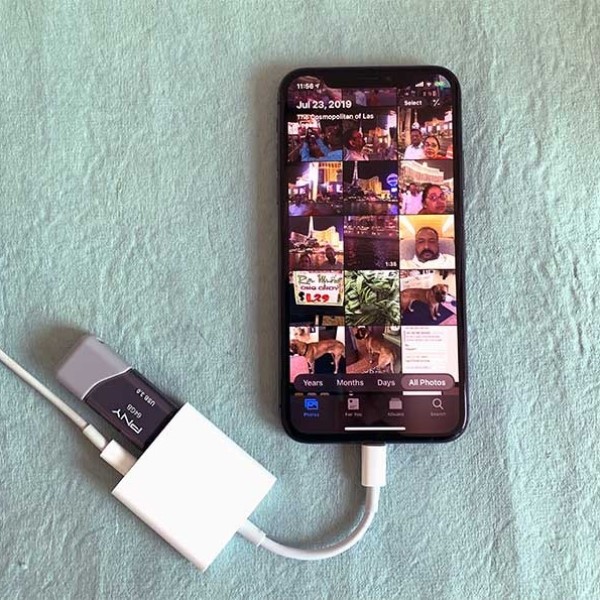
1. Get the Right Adapter
An Apple Lightning to USB Adapter or a USB-C hub will allow you to connect a standard external hard drive directly to your iPhone.
2. Connect the Devices
Plug the external hard drive into the adapter, then connect the adapter to your iPhone.
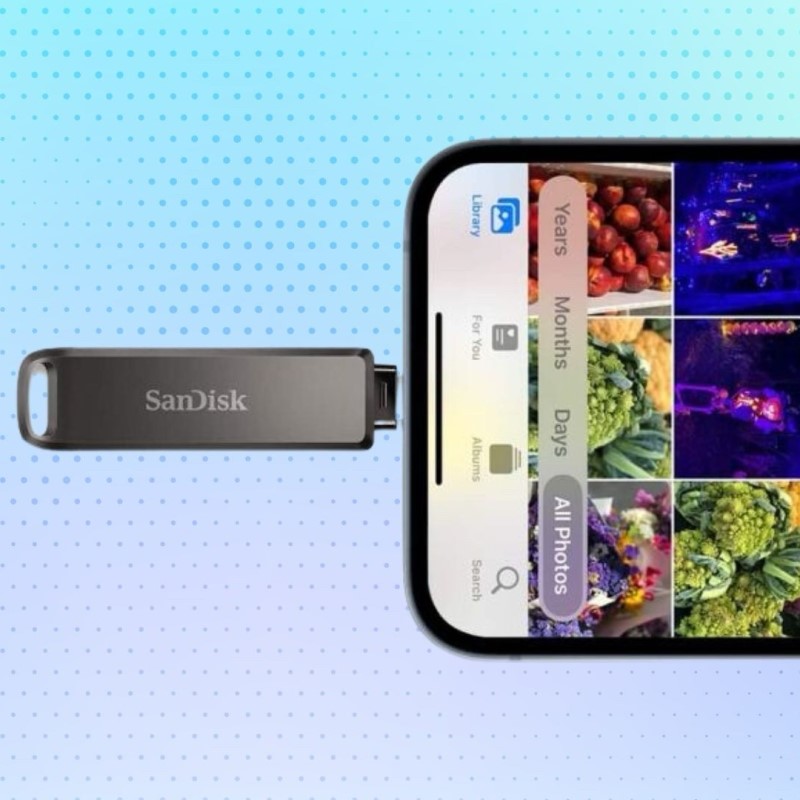
3. Use the Files App
Open the Files app on your iPhone. Navigate to the section for your device, locate the photos you want to transfer, select them, and tap “Share.” Choose ‘Save to Files’ and then select your external hard drive as the destination.
Method 3: Using iCloud or Other Cloud Storage
Although this method involves using cloud storage as a bridge, it can simplify your transfer process:
1. Upload Photos to iCloud
If you are signed in to iCloud, you can upload your photos directly from your iPhone. Go to Settings > [Your Name] > iCloud > Photos and ensure that ‘iCloud Photos’ is enabled. This will automatically back up your photos to iCloud.
2. Accessing iCloud on Your Computer
On your computer, visit the iCloud website or use the iCloud app to download the uploaded photos.
3. Transfer to External Hard Drive
After downloading to your computer, follow the method above to transfer these photos to your external hard drive.
Method 4: Third-Party Applications
Numerous third-party apps can help facilitate photo transfers from your iPhone to an external hard drive:
1. Finding a Suitable App
Apps like PhotoSync or Images Capture can streamline the photo transfer process. Choose an application based on your preferences and install it on both your iPhone and computer.
2. Set Up the App
Open the app on both devices and follow the step-by-step instructions to create a connection between your iPhone and external hard drive.
3. Transfer Photos
Select the photos to transfer and follow the on-screen instructions in the app to initiate the transfer directly to your external hard drive.
Tips for Successful Photo Transfers
To ensure that your photo transfer is successful and efficient, consider these best practices:
1. Confirm Compatibility
Verify that your external hard drive is formatted for use with your device (FAT32 or exFAT formats are commonly used for cross-compatibility).
2. Ensure Adequate Storage Space
Before starting the transfer process, make sure your external hard drive has enough space to accommodate the files you plan to move. You can check available storage in the drive’s properties on your computer.
3. Charge Your Devices
Before commencing the transfer, ensure both your iPhone and computer (if involved) have enough battery. Low battery levels can lead to interruptions that may affect the transfer process.
4. Create a Backup
If you have a significant number of photos, consider doing a backup of your existing files before starting the transfer. This precaution helps to avoid unexpected data loss.
FAQs about Transferring Photos
Can you transfer photos directly from iPhone to external hard drive?
Yes, using an appropriate adapter, you can connect an external hard drive directly to your iPhone, allowing for direct photo transfers without needing a computer.
How do I copy my entire iPhoto library to an external hard drive?
To copy your entire iPhoto library, locate the library file in your Pictures folder on your Mac and drag it to your external hard drive. Ensure there’s enough space for the entire library.
Can I connect my iPhone directly to an external hard drive?
Yes, with a suitable adapter like a Lightning to USB adapter, you can connect your iPhone directly to an external hard drive.
How do I save all my photos to an external hard drive?
You can save all your photos by connecting your iPhone to a computer and transferring files to the external hard drive or by using an adapter to connect directly to the hard drive.
By implementing these tips and utilizing the methods shared, you can manage your photo storage effectively and safeguard your precious memories!
Conclusion: Mastering Photo Transfers for Lasting Memories
Now that you know how to transfer photos from iPhone to external hard drive, you can confidently manage your cherished memories and ensure they are preserved safely. By following the steps outlined in this guide, you can choose a method that best suits your needs, whether transferring via a computer, using an adapter, or employing third-party apps.
Making a habit of transferring your photos not only frees up space on your iPhone but also safeguards your memories against potential data loss. With the right approach, you can easily create an organized and secure photo library on your external storage. Embrace the convenience of these transfer methods and keep your memories intact for years to come!